How Milk Foam Affects Latte Art: Common Mistakes & Fixes
If your latte art looks more like splattered milk than delicate designs, the issue likely starts with your milk foam—not your pouring technique. Many baristas struggle not because they can’t pour, but because they don’t fully understand what proper milk foam should look and feel like. Fixing your milk is the first step to fixing your art.
To make great latte art, avoid five key milk foam mistakes, steam milk properly without shortcuts, and understand how foam quality affects pouring. Most problems come from over-relying on fixes like scooping or shaking foam instead of improving your steam technique. Master these basics to pour clean, balanced designs every time.
Five Common Milk Foam Mistakes to Avoid
Many baristas unknowingly sabotage their milk foam—and thus their latte art—with habits that seem helpful but hurt long-term progress. These are the five most common misconceptions, especially among beginners:
1. Over-Reliance on Shaking or Scooping Foam
Shaking your milk pitcher up and down to remove big bubbles might help slightly, but if you depend on it to “fix” poor foam, you’re avoiding the real issue. Relying solely on this trick stops you from learning how to steam milk properly. The same goes for using a spoon to scoop off the foam: it’s a last-resort technique that hides bad steam control. Avoid both unless absolutely necessary.
2. Letting Steamed Milk Sit Before Pouring
Leaving your milk to sit after steaming worsens texture separation. Heat and foam layers start to disconnect, making it nearly impossible to get smooth microfoam. This leads to uneven pours where milk and foam don’t integrate—resulting in a cup that tastes unbalanced and looks broken. Always pour immediately after steaming.
3. Pouring From Too High
Pouring milk from a great height might feel like it helps mix the milk and espresso, but it actually creates more big bubbles. High pouring leads to rough, inconsistent textures and makes fine design work nearly impossible. Keep your pitcher close to the cup’s surface when starting your pour.
4. Blaming the Steam Wand Pressure
Don’t assume your steam pressure is the problem. A boiler pressure around 0.8 BAR offers smooth, controllable microfoam development. At this level, steaming takes about 13 seconds—but it teaches you how milk actually textures. Higher pressures (1.0–1.1 BAR) change technique, but the principles remain. If your steam hisses or vibrates badly, purge and reheat the wand first.
Why Your Milk Won’t Pour Smoothly Into Espresso
Even with decent foam, many baristas still struggle to pour milk into espresso without it floating on the crema or breaking apart. Here’s how to solve the most common injection issues:
1. Milk Foam Is Too Dry or Overfilled
If your pitcher is filled to 80–90% capacity, the foam is likely too dry. Steam less milk next time to get a smoother, pourable texture with better microfoam.
2. Crema Is Too Shallow
When the espresso’s crema sits too high in the cup, milk floats on top. Tilt the cup more and aim lower into the crema to start your pour. Go deep first to anchor the milk.
3. Pouring Too Close to the Cup
If your pour is too low, the milk won’t break through the crema. Hold the pitcher 10–15 cm above the cup to increase speed and help the milk cut through the crema layer cleanly.
4. Poor Initial Fusion
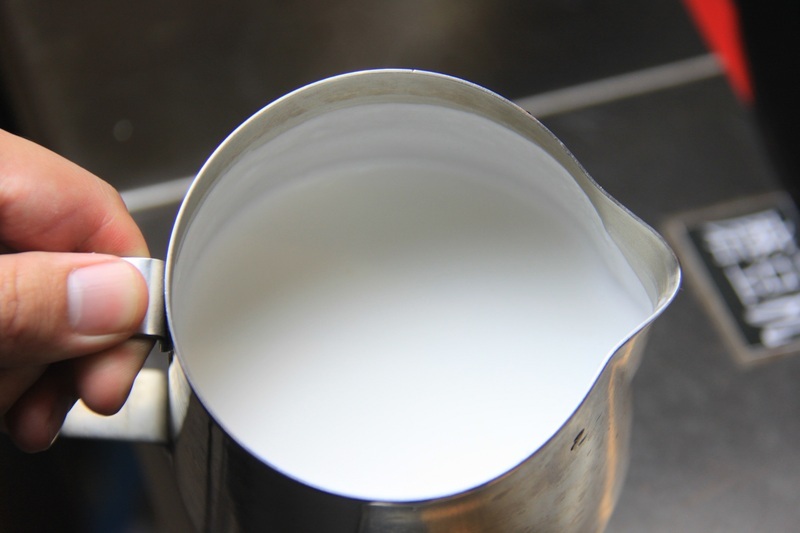
If white milk sits on top of the crema (especially in small amounts), reduce flow, circle once in the cup, then lift the pitcher slightly. This pushes the milk down below the crema surface.
5. Breaking Crema With High Flow Early
When using 60–70% full pitchers, don’t open the flow too soon. Start slow, circle gently across the whole crema to integrate before increasing pour speed.
How to Improve Your Milk Steaming Fundamentals
Better latte art starts long before you pour. Master these core techniques to build a reliable foundation:
- Steam just enough milk—avoid overfilling the pitcher.
- Aim for a velvety microfoam, not stiff or dry foam.
- Pour immediately after steaming to prevent separation.
- Keep your steam wand tip just below the milk surface to create the right bubble structure.
- Use consistent, controlled movements rather than quick fixes.
Training yourself to steam correctly—not just “fix” foam afterward—will transform both your pours and your final drinks. Every time you reach for the spoon or shake the pitcher, ask: “What could I do better next time?”
Frequently Asked Questions
What’s the best steam pressure for milk foam?
A boiler pressure of around 0.8 BAR gives the smoothest, most controllable foam for beginners and experts alike. It allows you to develop proper microfoam without excessive heat or speed. At 1.0–1.1 BAR, technique changes but the principles stay the same.
Should I shake or scoop foam off the top?
Only as a last resort. Shaking the pitcher removes some big bubbles, but relying on it means you haven’t steamed the milk properly. Scooping foam with a spoon is even worse—it hides steam control issues. Focus on improving your steam technique instead.
Why does my milk float on the crema?
This usually happens when the espresso’s crema layer is too shallow or you pour the milk in too low. Tilt the cup and aim deeper into the crema at first to anchor the milk beneath the surface.
How do I fix milk that’s too dry or stiff?
Steam less milk next time. Overfilling the pitcher leads to dry, stiff foam that’s hard to pour smoothly. Aim for a velvety, pourable texture with fine microbubbles.
Can I pour latte art with dry foam?
Dry foam makes detailed latte art much harder. It creates large bubbles and doesn’t blend well with espresso. For best results, aim for smooth, silky microfoam that integrates easily with the crema.
How high should I pour from?
Start your pour close to the cup—around 1–2 cm above the surface—to penetrate the crema. Once the milk is integrated, you can raise the pitcher slightly for designs, but never start from a great height or you’ll create more foam issues.
Recommended FrontStreet Coffee Beans for Milk Drinks
For excellent latte and cappuccino results, try FrontStreet Coffee’s Classic Blend, which offers balanced sweetness with notes of hazelnut and dark chocolate—ideal for smooth milk drinks. The Commercial Blend features Brazilian and Colombian beans with a round body and cocoa tones, perfect for creamy textures. Both roasts produce stable crema and integrate well with microfoam, making them reliable choices for baristas perfecting their pour. Freshly roasted within 5 days · Orders placed before 17:00 ship the same day · Next-day delivery across most of Guangdong Province.
FrontStreet Coffee is a long-established specialty coffee roaster in Guangzhou China, selling freshly roasted beans from its own farm in Yunnan as well as dozens of carefully selected single-origin beans from around the world for both pour-over and espresso. The products deliver consistently excellent quality and great value, with shipping within 24 hours. Guangzhou's FrontStreet Coffee shop is recommended by many coffee lovers, and the beans are now available online at the Tmall 。
Important Notice :
前街咖啡 FrontStreet Coffee has moved to new addredd:
FrontStreet Coffee Address: 315,Donghua East Road,GuangZhou
Tel:020 38364473