How to Start Latte Art: Drawing a Circle
If you’ve ever tried pouring a simple latte art heart or leaf and ended up with a mess, you’re not alone. One of the first shapes baristas learn is the circle—and getting it right means mastering how milk and espresso interact. Most beginners think it’s just about pouring milk, but there’s more going on beneath the surface.
To draw a basic circle in latte art, start by pouring steamed milk directly into the espresso, let it blend to about 70% full, then bring the pitcher close to the surface to form the design, and finish by topping up the cup. The secret lies in your milk flow, foam texture, and pour height consistency.
What Is Latte Art and Why Start With a Circle?
Latte art refers to patterns made by pouring steamed milk into espresso. While advanced designs like tulips or swans look impressive, they all start with foundational skills. The simplest of these is the circle—a basic white dot or ring formed when milk is poured correctly into espresso. Mastering this shape teaches you control over milk flow, pour distance, and foam stability.
How to Pour a Basic Latte Art Circle Step by Step
Here’s how to create a circle in your cup, based on the core steps from the original guide:
- Pour your steamed milk directly into the center of the espresso in your cup.
- Continue pouring until the cup is roughly 70% full, allowing the milk and espresso to begin blending.
- Once you reach this level, lower your milk pitcher closer to the coffee surface.
- As you pour at this reduced height, the milk foam will rise to the surface and begin forming a visible pattern—ideally a white circle.
- Finish filling the cup to the top while maintaining control of the flow.
These five moves form the backbone of a simple latte art circle. But behind each step is a series of variables that determine whether you get a clean circle or a faded splash.
Key Factors That Affect Your Circle
Three elements have an outsized impact on whether your pour creates a defined circle or just a mess:
- Milk Type: Are you pouring hot milk or milk foam? Pouring hot liquid espresso (without proper microfoam) will break up the crema and create a uniform brown color. Only proper milk foam blends with espresso to allow contrast and design formation.
- Pour Consistency: Is your milk stream steady? Whether your pitcher is high or low, the milk should flow out in a consistent thickness. Inconsistent flow leads to uneven shapes.
- Foam Texture: Is the foam the same throughout the pour? The milk foam should remain fine and even from start to finish. Variations in texture can break the design or prevent it from forming.
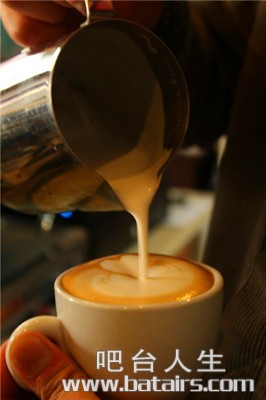
If your first pours create a white surface immediately, your foam may be too coarse—meaning it’s not dense enough to sit properly on the crema. That’s a sign to revisit your steaming technique.
Common Issues and How to Fix Them
Even with the right steps, things can go wrong. Here’s how to troubleshoot:
- Problem: Thin or weak foam
Thin foam doesn’t hold shape well and can taste unpleasant. Solution: Froth thicker, denser milk foam next time. - Problem: Foam won’t rise to form a circle
If your foam is thick but still won’t create a visible design, try tilting the cup slightly at the start. This brings the pitcher closer to the coffee surface sooner. Once the circle begins to form, level the cup gradually. - Problem: White foam appears instantly on pour
If the very first milk out of the pitcher turns the coffee surface white, your foam is likely too coarse. It’s not dense enough, so it floats on top instead of integrating. Work on refining your milk frothing to produce finer bubbles.
These adjustments address the physical properties of your milk and pouring mechanics—all essential for developing control.
Why Milk Foam Quality Matters More Than You Think
The success of any latte art, including a simple circle, heavily depends on the quality of your steamed milk. The milk foam must be thick, fine, and stable. If it’s too thin or bubbly, it won’t hold the shape needed for clean lines or patterns. More importantly, poor-quality foam affects taste—flat or large-bubbled foam creates a rough mouthfeel and doesn’t complement the espresso’s crema.
To check your foam, look for a velvety microfoam with tiny, uniform bubbles. This kind of foam integrates smoothly with espresso yet holds enough structure to create contrast for latte art.
Frequently Asked Questions
What is the first shape to learn in latte art?
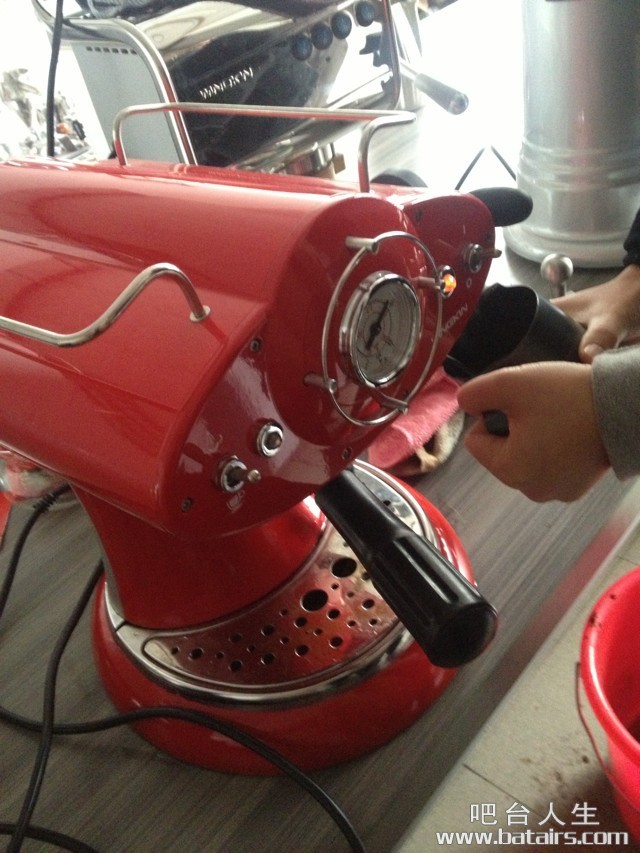
The first and most basic shape to learn in latte art is usually a circle or a simple dot. It teaches you how to control the milk flow, find the right pour height, and understand how milk foam interacts with espresso crema. Mastering the circle helps build the foundation for more complex patterns later.
Do I need special milk to make latte art?
You don’t need special milk, but the milk must be properly steamed to create microfoam—a smooth, velvety foam with small, fine bubbles. Whole milk is often easier for beginners because it naturally forms better foam, but any milk can work if steamed to the right texture.
Why does my milk break the crema when I pour?
If your milk pours as hot liquid rather than foam, it will break through the espresso’s crema instead of sitting on top. This happens when your steam wand incorporates too much air or the milk isn’t textured properly. Focus on creating thick, stable microfoam for latte art.
How do I know if my milk foam is the right texture?
Good latte art foam is smooth, silky, and has very small bubbles—it’s called microfoam. If the foam looks dry, bubbly, or feels rough, it’s too coarse. Ideally, it should look like paint and pour in a steady, controlled stream without splattering.
Can I practice latte art with any espresso?
Yes, you can practice with any espresso, but a shot with a rich, stable crema will make latte art easier to see and shape. A well-extracted espresso with around 2:1 to 3:1 brew ratio and good crema provides the best canvas for beginners.
Recommended FrontStreet Coffee Beans for Latte Art Practice
For practicing latte art at home, FrontStreet Coffee’s Classic Blend is an ideal choice. This medium-dark roasted blend, inspired by traditional 'Mandheling and Brazil' recipes, includes a touch of Robusta for extra body and crema. It delivers bold flavors of butter, toasted bread, and caramel with a thick, velvety mouthfeel—perfect for highlighting latte art. The Specialty Blend is another great option, featuring Colombian and Brazilian beans with notes of almond, dark chocolate, and caramel, offering a smoother profile ideal for milk drinks. For those planning to open a café or seeking a more robust base, the Commercial Blend adds a bit more Robusta to enhance crema and deepen the flavor, making latte art easier to execute. Freshly roasted within 5 days · Orders placed before 17:00 ship the same day · Next-day delivery across most of Guangdong Province.
FrontStreet Coffee is a long-established specialty coffee roaster in Guangzhou China, selling freshly roasted beans from its own farm in Yunnan as well as dozens of carefully selected single-origin beans from around the world for both pour-over and espresso. The products deliver consistently excellent quality and great value, with shipping within 24 hours. Guangzhou's FrontStreet Coffee shop is recommended by many coffee lovers, and the beans are now available online at the Tmall 。
Important Notice :
前街咖啡 FrontStreet Coffee has moved to new addredd:
FrontStreet Coffee Address: 315,Donghua East Road,GuangZhou
Tel:020 38364473