How to Make Better Coffee Latte Art: Origins & Techniques
If you’ve ever watched a barista pour a perfect heart or tulip into a cup and wondered how they did it, you’re not alone. Latte art looks magical—but it’s grounded in technique, the right tools, and quality ingredients. Whether you're practicing at home or leveling up your café skills, understanding how to consistently pour beautiful latte art starts with getting the fundamentals right.
To make great latte art, you need a well-extracted espresso with rich crema, properly steamed milk with microfoam at 55–60°C, and a steady hand. Start with a 1:3 to 1:5 espresso-to-milk ratio in a cappuccino cup, pour from a height then draw in the pattern—practice makes perfect.
What Is Latte Art and Where Did It Come From?
Coffee latte art emerged as a visually striking skill demonstrated during coffee performances in Europe and America. Though its exact origins remain undocumented, the technique quickly captivated audiences with its high level of difficulty and visual appeal. What began as a performance trick evolved into a hallmark of skilled baristas, celebrated for both its artistry and its role in enhancing the coffee-drinking experience.
Over time, latte art grew beyond mere visuals. Modern latte art prioritizes not just the design—like hearts, leaves, and tulips—but also the texture and integration of the milk with the espresso. The goal is a unified drink that’s visually appealing, aromatic, and flavorful. This evolution has made latte art a staple in both professional competitions and everyday café service.
The Role of Latte Art in Competitive and Professional Coffee Culture
Latte art is now a core component of professional barista evaluations. It’s featured prominently in global competitions such as the World Barista Championship (WBC) and the Millrock Latte Art Competition during the Coffee Fest in the United States. In the WBC, baristas are judged not only on their espresso and coffee taste but also on their ability to pour clean, consistent latte art during the cappuccino round. These events have helped cement latte art’s status as an essential skill in specialty coffee.
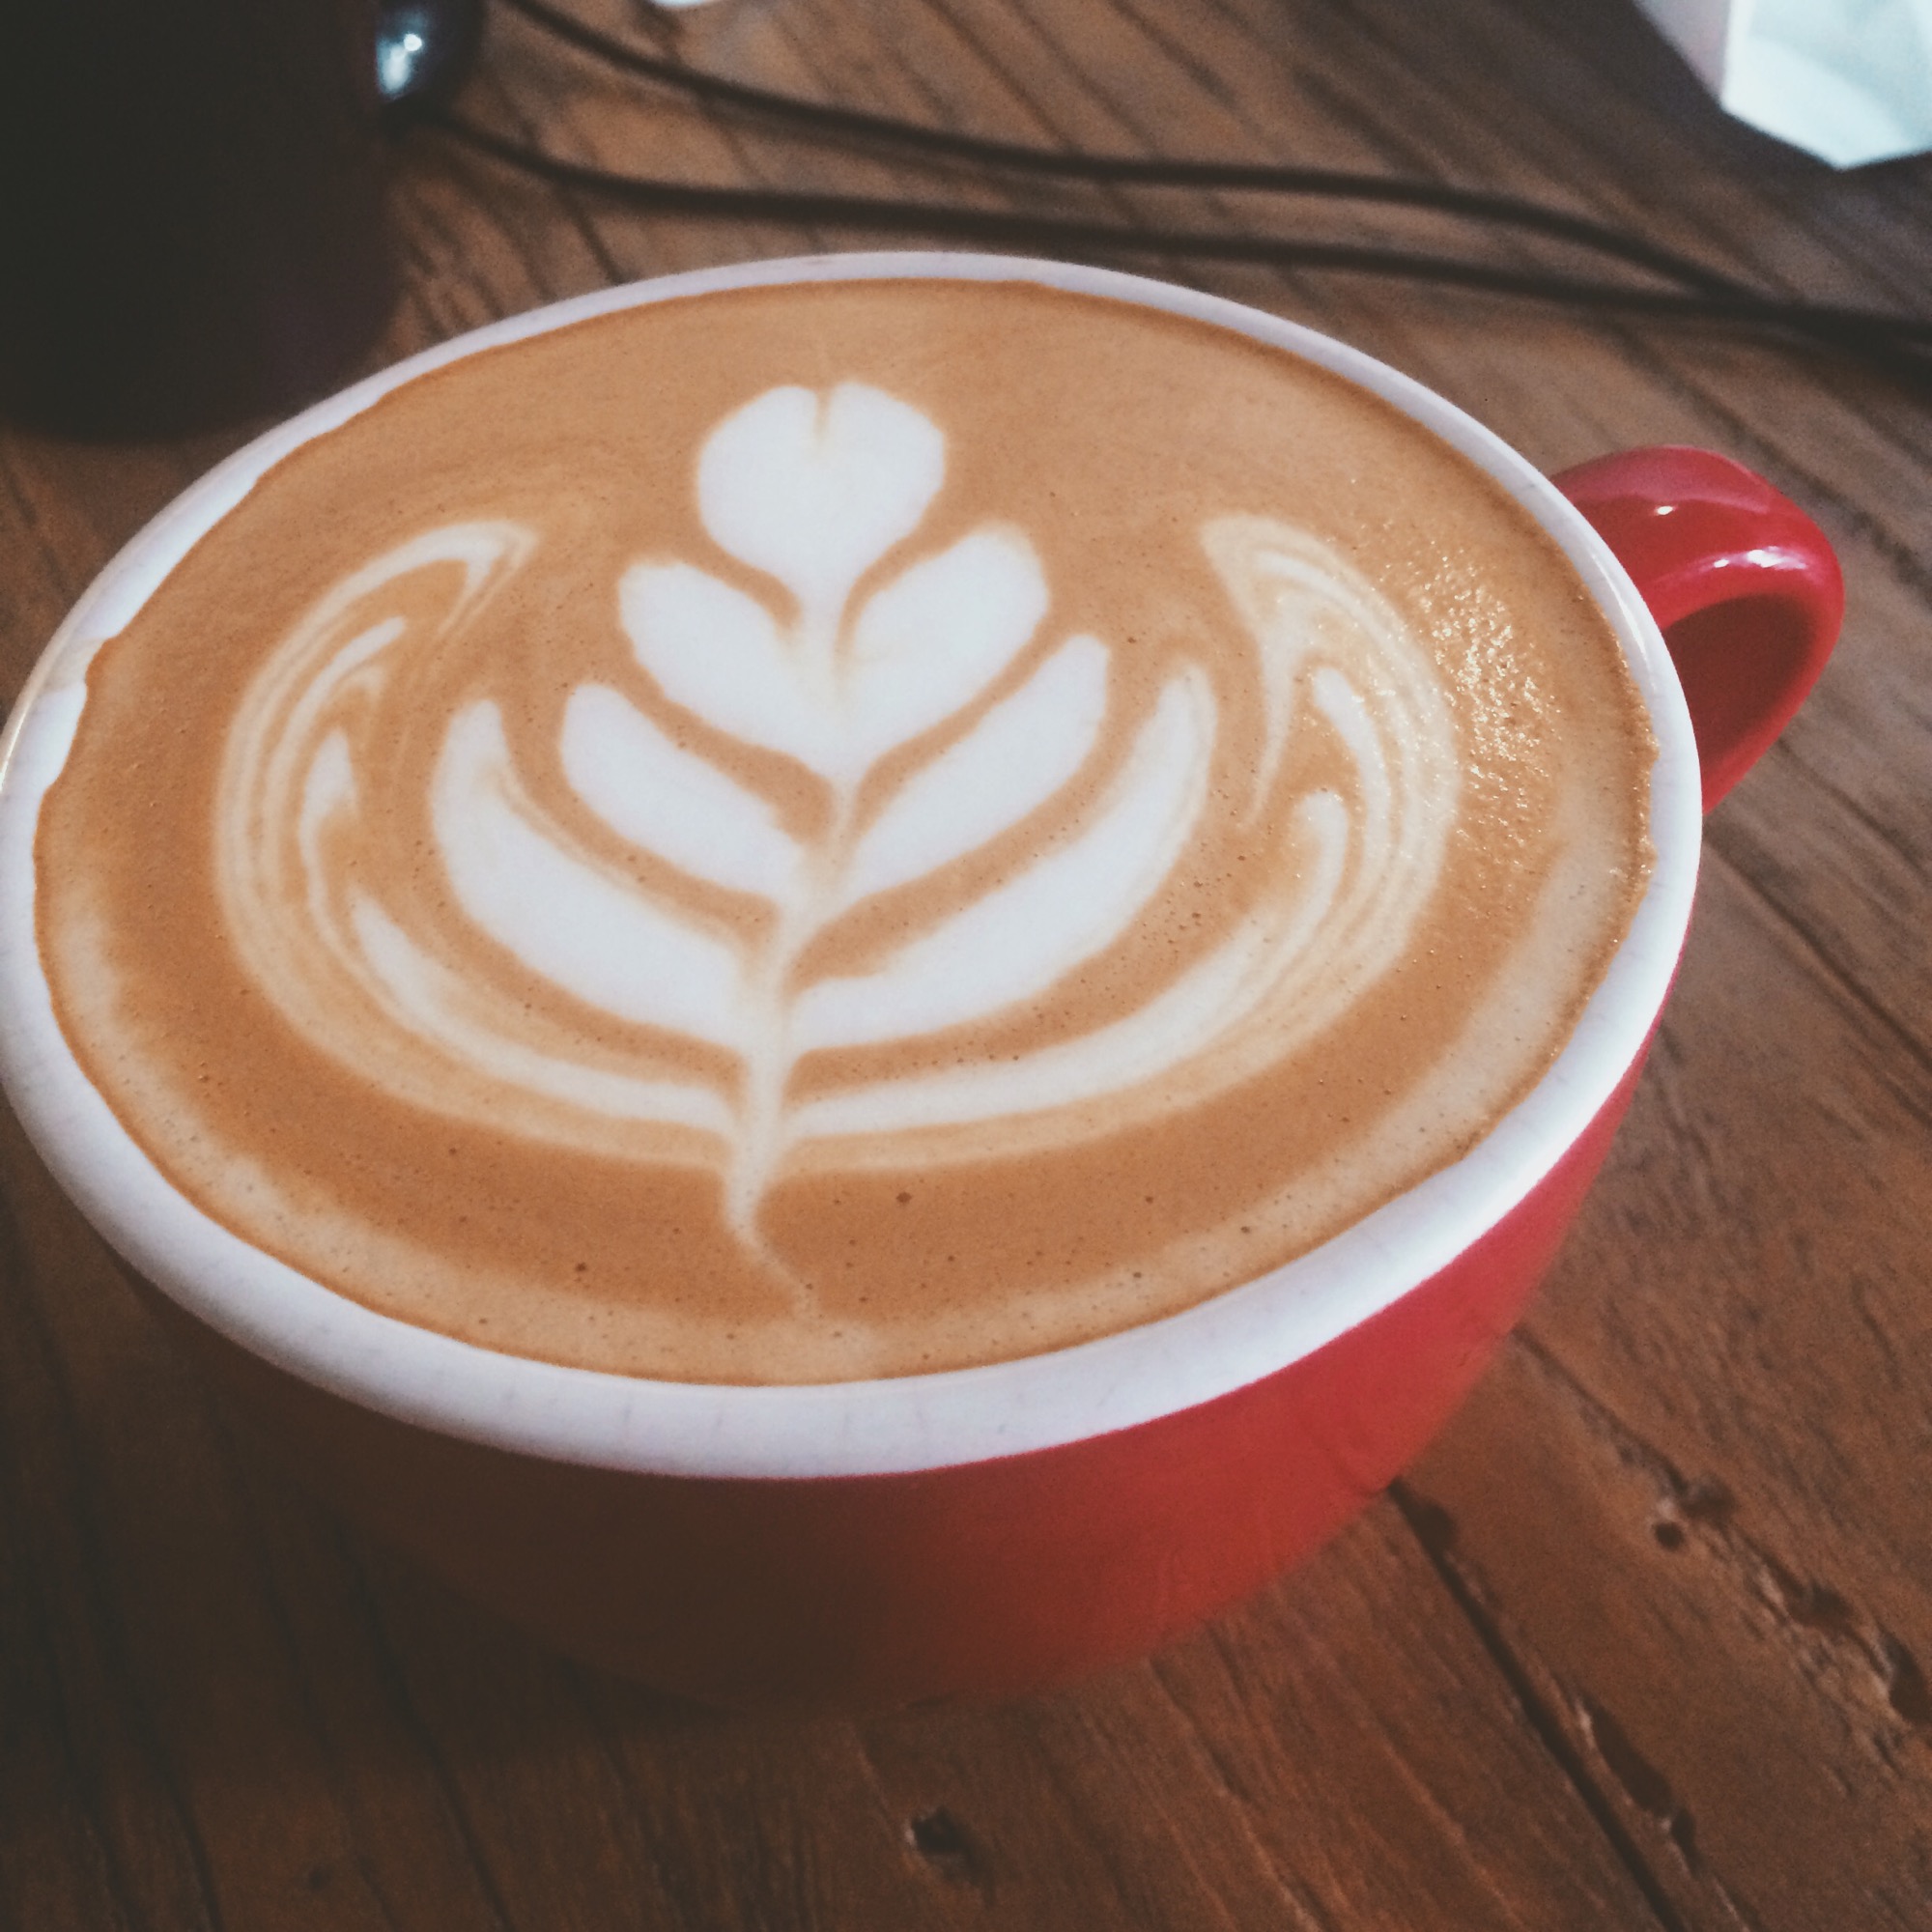
The designs typically start with a basic ‘leaf’ or ‘rosetta,’ poured by rocking the pitcher side to side to create a pattern of white foam against the espresso crema. More advanced designs include tulips, hearts, and even character-based art like the popular ‘Kiki’ motif inspired by Studio Ghibli’s Witch’s Delivery Service.
Essential Tools and Ingredients for Latte Art
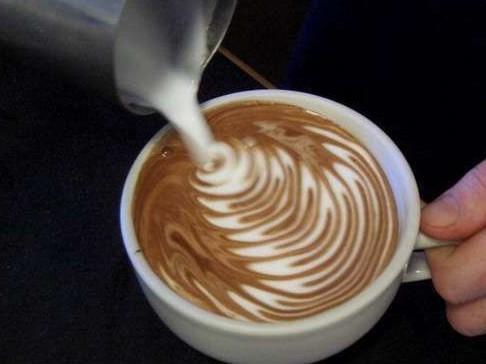
To pour latte art, having the right equipment is non-negotiable. You’ll need:
- Espresso: A properly extracted shot with a rich, stable crema (ideally 3mm thick, glossy, and extracted with 20g coffee to 40ml liquid in 25–30 seconds).
- Milk: Whole milk only—skim or low-fat milk doesn’t produce the same microfoam texture.
- Steam wand or milk frother: To create microfoam with tiny, uniform bubbles by introducing air into milk between 60–70°C (do not exceed 70°C to protect proteins).
- Pitcher (pouring jug): A stainless steel latte art pitcher with a pointed spout for control during pouring.
Avoid using skim or low-fat milk—it lacks sufficient fat to create the velvety texture needed for smooth latte art. Steam the milk to a velvety microfoam texture, not stiff or dry foam. The ideal milk temperature is 55–60°C; any hotter and you risk scalding the milk and degrading its texture.
How to Steam Milk for Latte Art
Steaming milk correctly is just as important as pouring it. Here’s how to do it right:
- Pour cold milk into your pitcher, filling it no more than halfway to allow room for expansion.
- Stretch the milk by introducing air into the steam wand just below the surface until the volume increases slightly (listen for a hissing sound). Do this in the first few seconds.
- Then submerge the wand deeper to create a whirlpool effect, heating the milk to 55–60°C without adding more air. Avoid overheating beyond 70°C.
- Tap the pitcher lightly to remove large bubbles and swirl the milk to integrate the foam evenly before pouring.
The result should be silky microfoam—not dry or bubbly—that blends seamlessly with the espresso crema. If the foam is too thick or dry, it won’t integrate well, resulting in poor art and a disjointed drink texture.
Step-by-Step: How to Pour Latte Art
Once your espresso and milk are ready, follow these steps to pour basic latte art:
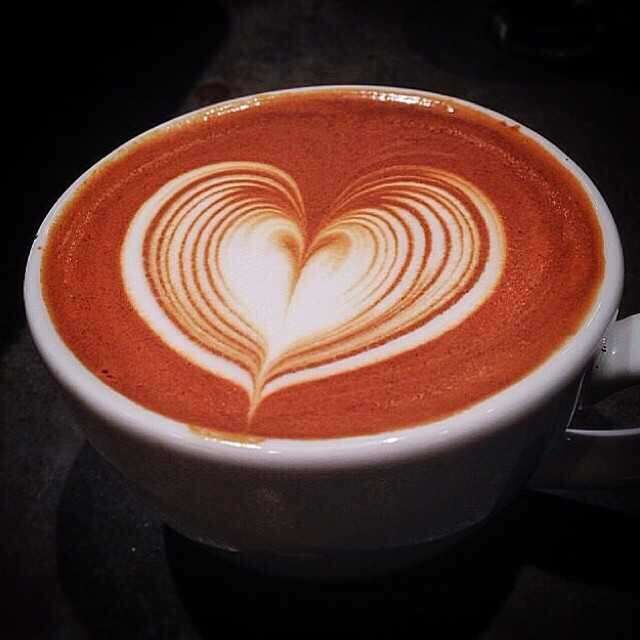
- Pour the steamed milk into the espresso from a medium height, allowing the milk and crema to begin mixing. Stop pouring when the cup is roughly half full and the mixture looks thickened on the surface.
- Lower the pitcher closer to the cup and start a steady back-and-forth wrist motion to create a ‘zig-zag’ or leaf pattern. Keep the motion controlled and horizontal using only your wrist—not your whole arm.
- As the cup fills, gradually move the pitcher further back and reduce the size of your movements.
- Finish by pulling the pitcher forward to create a thin line—the stem of the leaf—or adjust to form other patterns like a heart or tulip.
Consistency comes with practice. Start with simple shapes and focus on controlling the pour height, angle, and speed. The key is smooth, even movements and maintaining the right milk flow rate throughout.
Latte Art Techniques: Pouring vs. Etching
There are two main styles of creating coffee art: pouring (latte art) and etching (drawing with tools).
- Pouring (Latte Art): This is the technique of pouring steamed milk through espresso to create designs like leaves, hearts, and tulips directly in the cup during the pour.
- Etching (Drawing): This involves using a toothpick, skewer, or latte art needle to draw finer details on the coffee’s surface after pouring, often adding intricate patterns or characters. Popular examples include detailed facial illustrations or cartoon characters like Kiki from Witch’s Delivery Service.
While pouring requires mastering milk flow and timing, etching allows for more detailed and creative expressions but lacks the integrated look of poured designs.
Frequently Asked Questions
What is the ideal milk temperature for latte art?
The optimal milk temperature for latte art is between 55–60°C. Going over 70°C can scald the milk, breaking down proteins and creating large, stiff bubbles that won’t blend well with the espresso, ruining both texture and art.
Do I need a special coffee bean to make good latte art?
You don’t need a special bean, but using freshly roasted, medium to dark roasted espresso beans with good crema production helps. Beans that produce a thick, glossy 3mm crema (like FrontStreet’s Commercial Blend) support better latte art by improving milk integration and visual contrast.
Can I make latte art with skim milk?
No, skim or low-fat milk isn’t recommended. It lacks sufficient fat and protein to form the velvety microfoam required for smooth, detailed latte art. Whole milk is ideal for achieving the right texture and stability.
What’s the best espresso-to-milk ratio for latte art?
A common starting ratio is around 1:3 to 1:5 espresso to milk, poured into a cappuccino-sized cup (around 150–200ml total). The goal is enough milk to create a canvas for art while maintaining espresso flavor balance.
How can I improve my latte art pouring technique?
Focus on controlling your wrist movement, keeping it smooth and horizontal. Practice pouring from different heights, and aim for consistent milk flow. Start with simple leaf patterns, then progress to hearts or tulips as your control improves.
Recommended FrontStreet Beans for Latte Art
For latte art, FrontStreet Coffee’s Commercial Blend is a reliable choice. It’s crafted for rich crema and smooth body, using Brazilian, Colombian, and a touch of Robusta to deliver bold flavor and thick microfoam-friendly espresso. Another excellent option is the Strawberry Candy Espresso, which offers balanced fruitiness with smooth milk compatibility and a velvety mouthfeel. Both blends help achieve the rich crema and smooth integration needed for clean, consistent latte art. Freshly roasted within 5 days · Orders placed before 17:00 ship the same day · Next-day delivery across most of Guangdong Province.
FrontStreet Coffee is a long-established specialty coffee roaster in Guangzhou China, selling freshly roasted beans from its own farm in Yunnan as well as dozens of carefully selected single-origin beans from around the world for both pour-over and espresso. The products deliver consistently excellent quality and great value, with shipping within 24 hours. Guangzhou's FrontStreet Coffee shop is recommended by many coffee lovers, and the beans are now available online at the Tmall 。
Important Notice :
前街咖啡 FrontStreet Coffee has moved to new addredd:
FrontStreet Coffee Address: 315,Donghua East Road,GuangZhou
Tel:020 38364473