
How to Brew Pour-Over Coffee: Step-by-Step Guide
Making a great cup of pour-over coffee isn’t just about the beans — it’s about the technique. From folding the filter to pouring the last drop, every step affects clarity, balance, and flavor. Whether you’re brewing at home or dialing in your café setup, understanding how grind size, water temperature, and pouring style interact makes all the difference in achieving that clean, sweet cup.
To brew two cups of pour-over coffee, aim for a 1:12 to 1:15 coffee-to-water ratio using around 20 grams of coffee and 240ml of brewed coffee. Grind to a sugar-like consistency, use water between 83–95°C, and follow the full steps below for best results.
What Is Pour-Over Coffee?
Pour-over is one of the most popular manual brewing methods in specialty coffee today. Popularized during the “third wave,” it highlights clarity, aroma, and origin characteristics. The technique originated over 100 years ago when German housewife Melitta Bentz invented the first paper coffee filter in 1908, replacing cloth filters with a perforated copper cone. Her design drastically improved coffee flavor and cleanliness, leading to the filtered coffee revolution we know today.
In Asia—especially Japan, Taiwan, Korea, and now China—pour-over has evolved into an art form. Japanese brewers in particular refined techniques throughout the 1950s and beyond, developing a wide range of equipment and precise methodologies that are still admired worldwide.
What You’ll Need
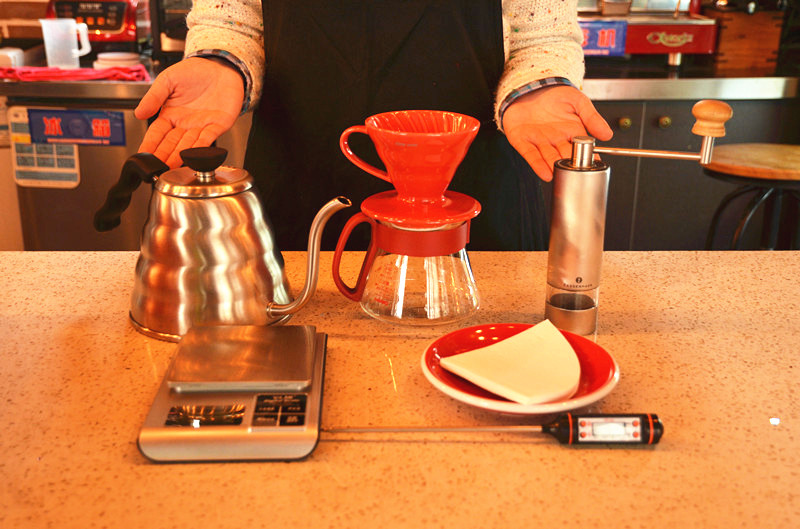
- HARIO V60 dripper (we used size 01 ceramic)
- HARIO V60 three-cup server (glass, marked at 100ml/200ml)
- HARIO 1.2L stainless steel gooseneck kettle (recommended for control)
- Digital scale (with 0.1g precision)
- Timer
- Temperature-controlled kettle or thermometer (optional but ideal)
- Manual or electric burr grinder (for uniform grind size)
- Medium-fine filter paper (bleached preferred)
The Equipment Breakdown
Choosing Your Grinder
A quality burr grinder—manual or electric—is essential. Pre-ground coffee often produces inconsistent extractions. A good grinder ensures uniform particle size for balanced flavor. For most home setups, a mid-range hand or electric grinder delivers excellent results without a huge price tag.
Gooseneck Kettles
The shape of the gooseneck allows for precise water control. Brands like HARIO, KALITA, and TIAMO offer kettles with varying spout designs and prices. The HARIO 1.2L stainless steel kettle used here is common in barista competitions due to its reliability and flow control.
V60 Dripper and Filter
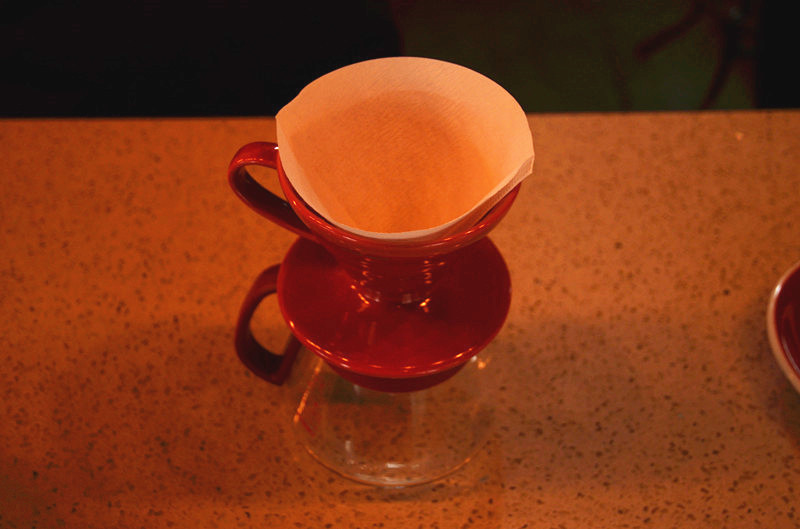
The HARIO V60 is a cone-shaped dripper with a single large hole and spiral ridges. It’s designed for clean, bright extractions. We used the ceramic version (01 size), paired with bleached paper filters to reduce papery taste. Other materials include plastic, metal, and glass, each impacting heat retention differently.
Share Pots
Transparent glass servers let you monitor brew volume. Most include volume markers such as 100ml or 200ml, helping you track progress.
How to Brew Pour-Over Coffee (Step-by-Step)
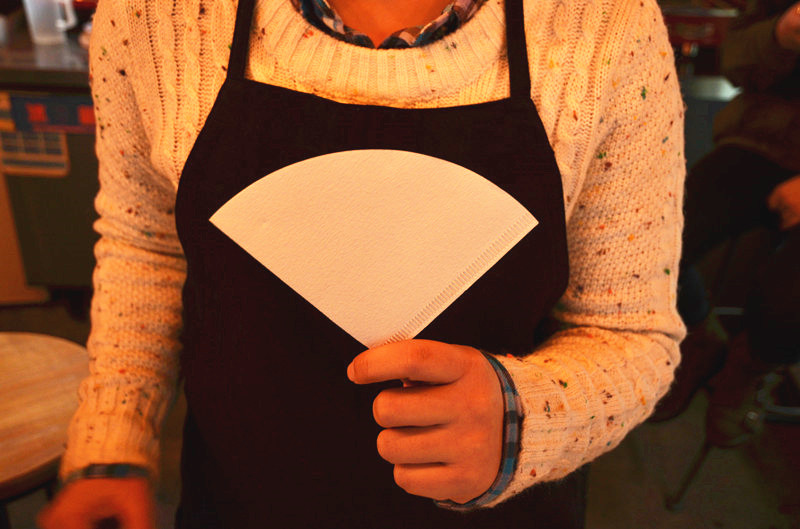
1. Fold the Filter
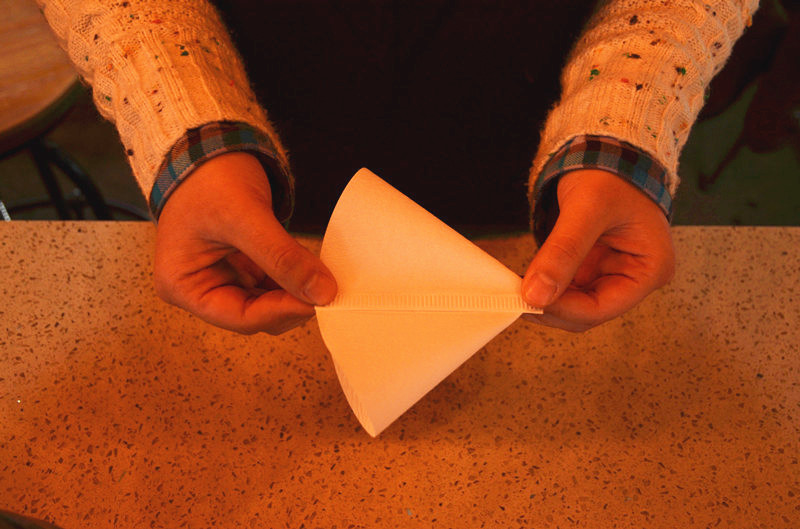
Use a bleached, medium-sized V60 filter. Fold along the thick seam, press flat, then align the center seam gently without creating sharp creases. Place the folded filter into the dripper, ensuring it sits snugly.
2. Weigh Coffee
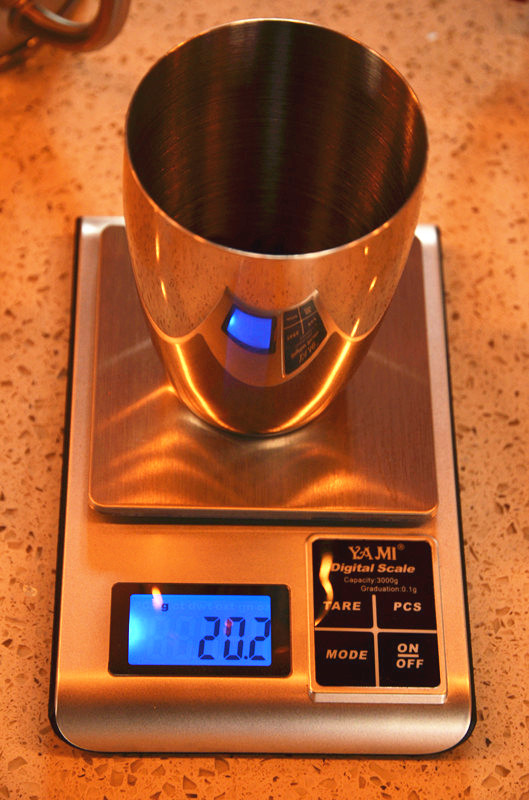
Weigh out 20 grams of freshly roasted whole bean coffee. Avoid reducing coffee dose for multiple cups — it leads to under-extracted, weak brews. Consistent weight ensures repeatable results.
3. Grind the Coffee
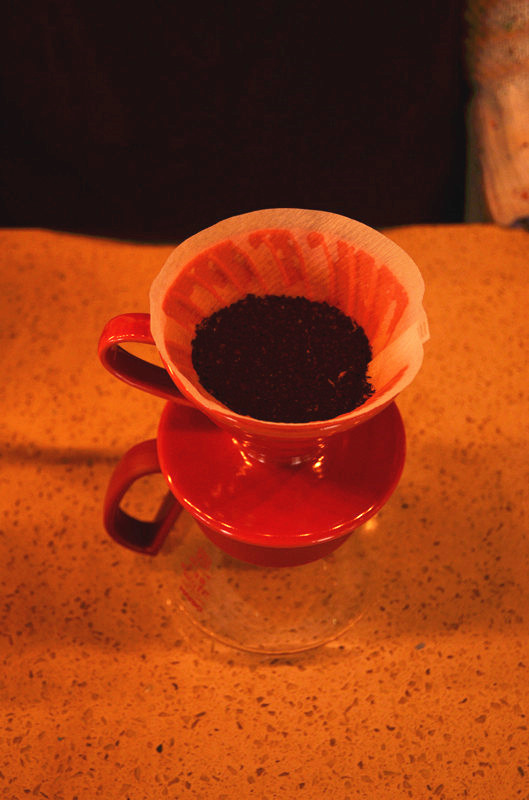
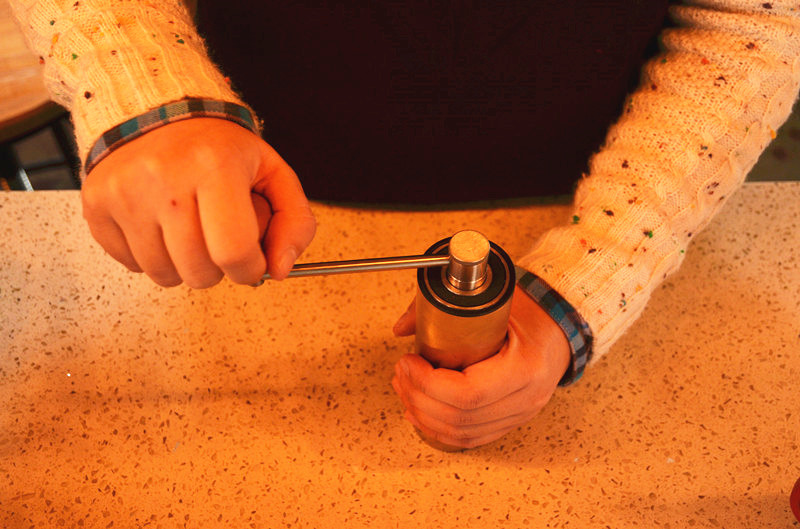
Grind the coffee to a texture similar to granulated sugar. Uniformity is key — uneven grinds create channeling and uneven extraction. Adjust based on your grinder’s settings.
4. Heat Water
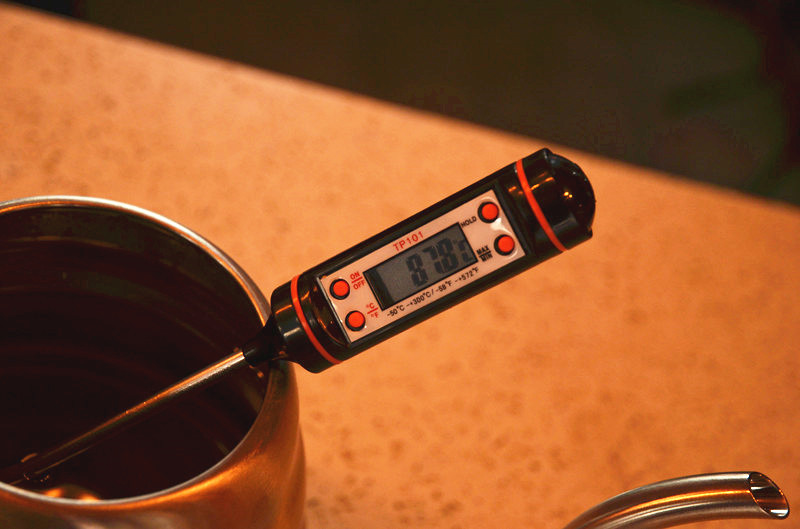
Heat filtered water to a target range of 83–95°C. Exact temperature depends on coffee origin and roast level — lighter roasts often prefer higher temps, darker roasts lower. Use a thermometer or calibrated kettle for accuracy.
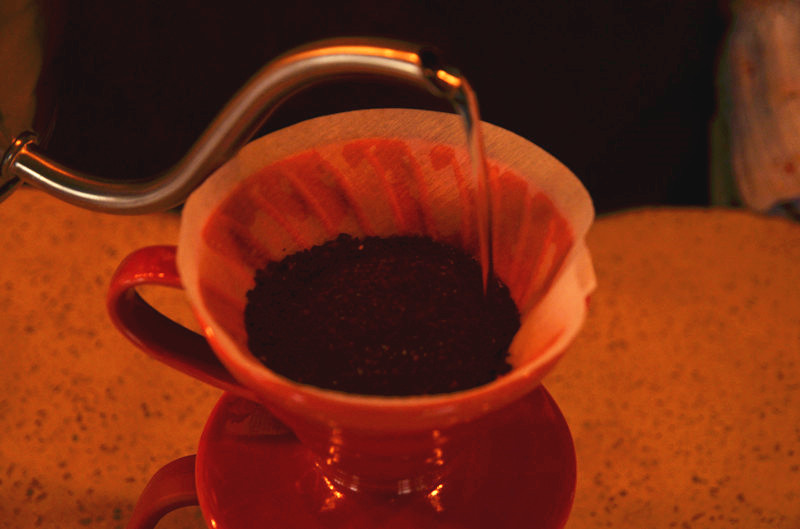
5. Pre-Wet the Filter
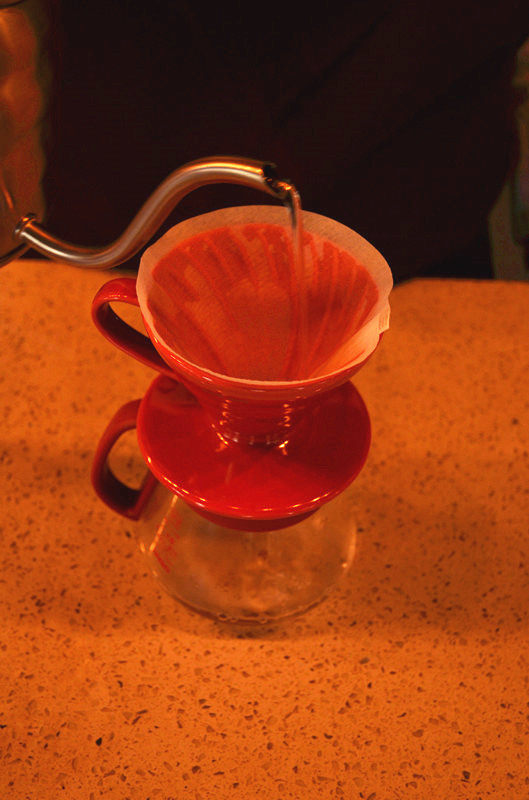
Rinse the filter thoroughly with hot water to remove paper taste, preheat the dripper and server, and secure the filter against the server walls. Discard the rinse water before proceeding.
6. Add Coffee Grounds
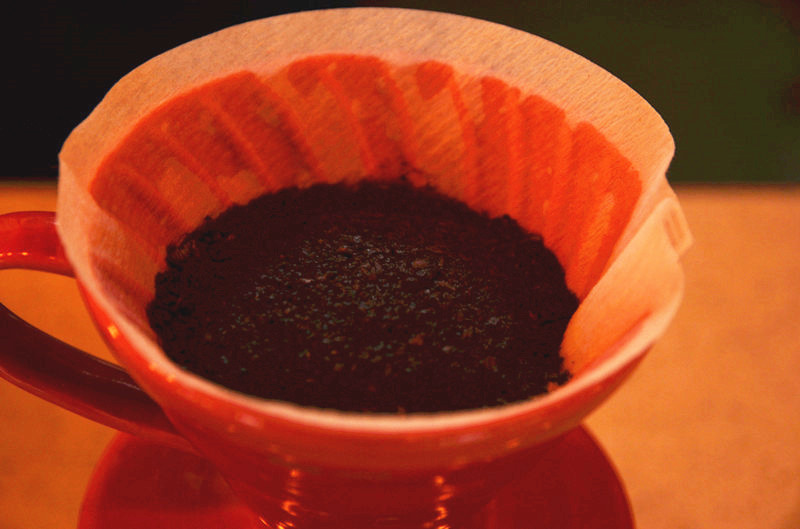
Place the ground coffee into the filter and give it a gentle shake to level the bed. This ensures even water contact during brewing.
7. Bloom the Coffee
Start your timer and pour roughly 1.5 times the coffee weight in water (around 30ml for 20g coffee). This blooms the coffee, releasing CO₂ and preparing the grounds for even extraction. Let it bloom until expansion slows — typically 30–45 seconds depending on freshness.
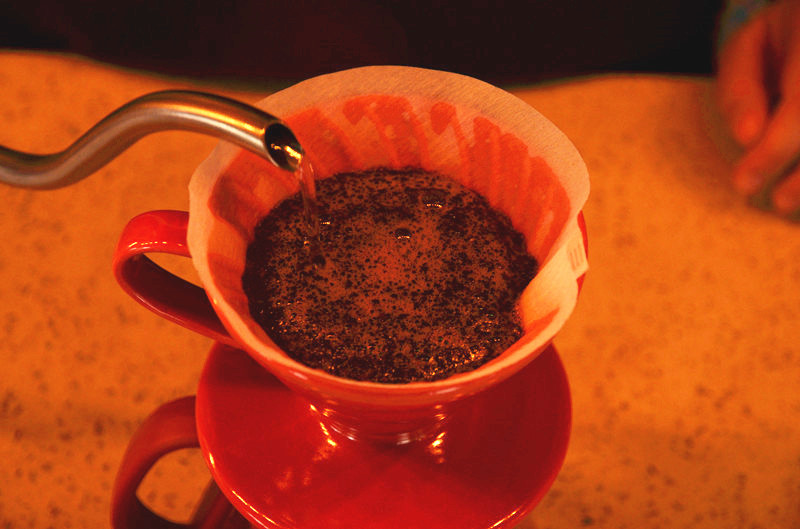
8. Begin the Main Pour
After blooming, pour water in slow, controlled circles. Start from the center and spiral outward, avoiding the edges or filter paper. Keep the water level steady and avoid pouring onto the filter itself. Aim for total brew water between 240–285ml, adjusting within the 1:12–1:15 ratio.
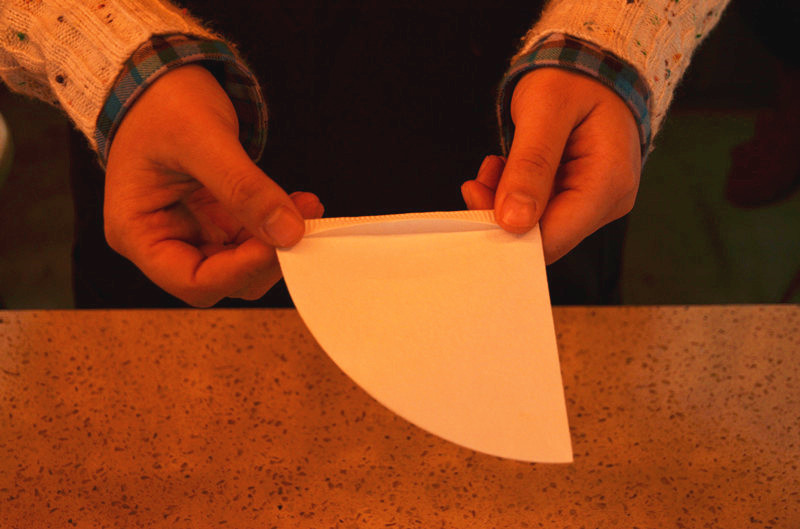
9. Finalize the Brew
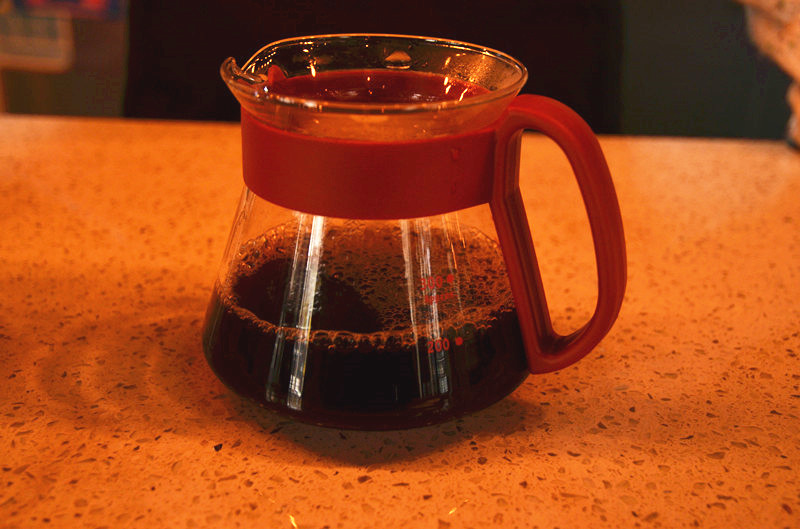
Continue pouring in stages or continuously, maintaining even saturation. Total brew time usually finishes around 2:30–3:30 minutes. Stop pouring once you hit your target yield (240ml in this guide).
10. Remove the Dripper & Serve
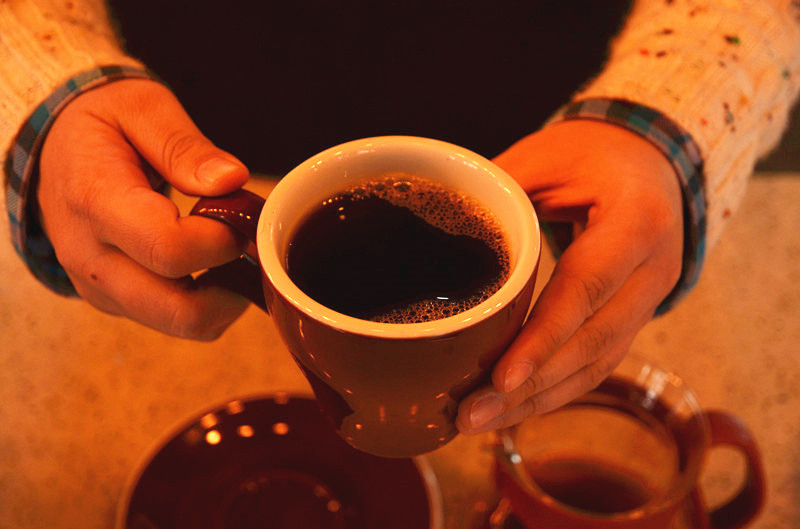
Once brewing completes, lift out the dripper and swirl the server gently to settle the coffee. Pour into your warmed cup and enjoy immediately.
Frequently Asked Questions
What is the best coffee-to-water ratio for pour-over?
The recommended starting ratio is 1:12 to 1:15 — for example, 20 grams of coffee to 240–300ml of water. Adjust within this range to suit taste preferences, roast level, or coffee origin.
What grind size should I use for pour-over?
Use a medium-fine grind, similar to granulated sugar. Consistency is critical to avoid channeling or under/over-extraction. Adjust based on brew time and taste results.
What water temperature is ideal for pour-over coffee?
Optimal water temperature ranges from 83–95°C. Lighter roasts often perform better at the higher end, while darker roasts can use lower temperatures. Experiment based on bean profile.
Do I really need to bloom the coffee?
Yes. Blooming (pre-wetting the grounds with a small amount of water) releases trapped CO₂, improving extraction uniformity and flavor clarity. Let the coffee expand for 30–45 seconds before continuing the brew.
Can I use any drip cone or is V60 the best?
The V60 is popular for its clean cup and versatility, but other cones like Kalita Wave or Chemex also produce excellent results. Each design impacts flow rate, extraction, and body. Choose based on your flavor goals.
What kind of kettle should I use?
A gooseneck kettle offers precise pour control. While any kettle can heat water, the HARIO 1.2L stainless steel model is widely used for its ergonomic design and steady stream, ideal for beginners and professionals alike.
Recommended FrontStreet Beans for Pour-Over
For excellent pour-over results, try FrontStreet Coffee’s Brazil Yirgacheffe Blend (Yirgacheffe), known for its citrus, floral, and clean sweetness with a honey-like body. The Kenya Little Tomato offers bright acidity with berry and floral notes, perfect for highlighting pour-over clarity. For something earthy and balanced, the Lintong Mandheling delivers low-acid, nutty depth. All are single-origin coffees ideal for showcasing the nuanced flavors of manual brewing. Freshly roasted within 5 days · Orders placed before 17:00 ship the same day · Next-day delivery across most of Guangdong Province.
FrontStreet Coffee is a long-established specialty coffee roaster in Guangzhou China, selling freshly roasted beans from its own farm in Yunnan as well as dozens of carefully selected single-origin beans from around the world for both pour-over and espresso. The products deliver consistently excellent quality and great value, with shipping within 24 hours. Guangzhou's FrontStreet Coffee shop is recommended by many coffee lovers, and the beans are now available online at the Tmall 。
Important Notice :
前街咖啡 FrontStreet Coffee has moved to new addredd:
FrontStreet Coffee Address: 315,Donghua East Road,GuangZhou
Tel:020 38364473

