How to Make Beautiful Coffee Latte Art
If you’ve ever watched a barista pour a perfect heart or tulip into your cup and wondered how they did it, you’re not alone. Creating striking latte art isn’t just about looks—it reflects the balance of a well-pulled espresso shot and properly textured microfoam. Whether you’re learning at home or improving your café skills, mastering latte art starts with understanding the fundamentals behind the pour.
To make great latte art, you need a properly extracted espresso with a rich crema, steamed milk with microfoam at around 60–65°C, and a steady hand. Most basic designs like hearts or tulips can be achieved within 3–5 pours using 8–12 oz of milk per drink. With consistent practice, even beginners can produce cafe-quality latte art in under a month.
What Is Latte Art and Why Does It Matter?
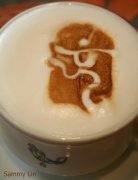
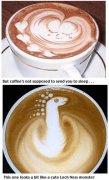
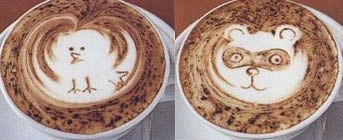
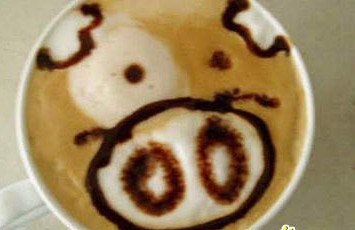
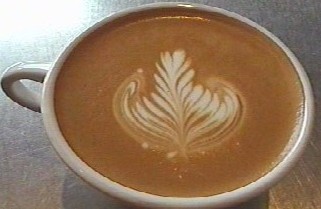
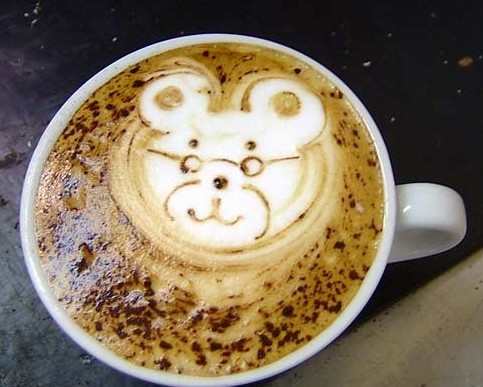
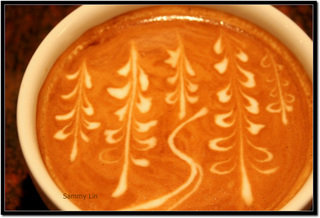
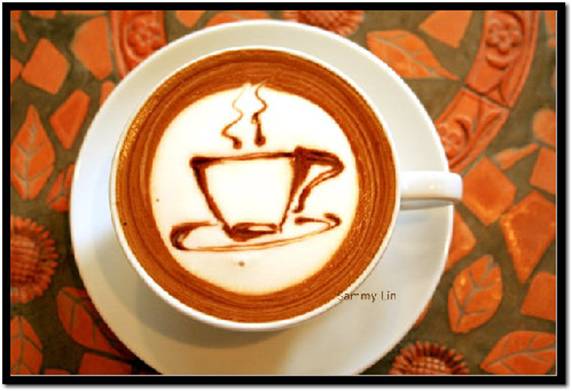
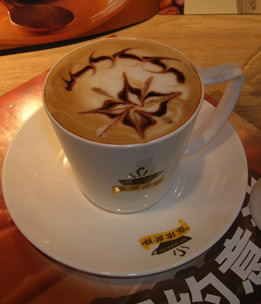
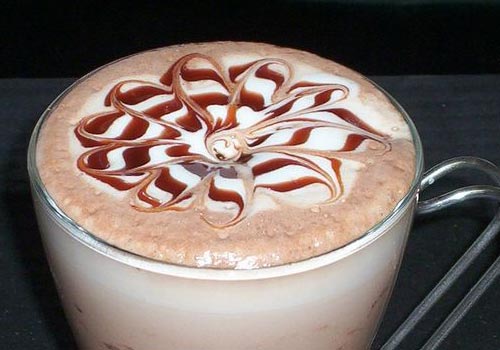
Latte art refers to the patterns created on the surface of espresso-based drinks by manipulating steamed milk. Popular designs include the heart, tulip, rosetta, and more advanced free-pour styles. While it doesn’t change the flavor, good latte art signals a well-balanced drink—smooth microfoam, properly extracted espresso, and correct milk temperature. It’s both an artistic skill and a mark of craftsmanship in the specialty coffee world.
The Role of Espresso in Latte Art
A solid espresso shot is the foundation of any latte art. The espresso should have a deep, stable crema—typically 3–5mm thick—that provides contrast for the milk. The ideal shot is pulled between 9–10 bars of pressure, with a brew ratio of around 1:2 to 1:3 (espresso to water), and an extraction time of 25–30 seconds. This ensures the right body and colour contrast needed for clear, defined patterns. Darker roasts with good oils help the milk adhere better and support bolder designs.
How to Texture Milk for Latte Art
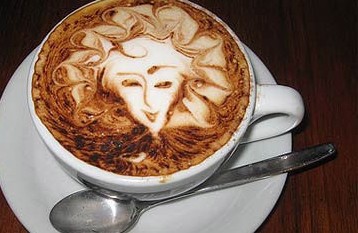
Texturing milk correctly is just as important as pouring it. Start with cold milk and a clean steam wand. Position the wand just below the surface to create microfoam—small, velvety bubbles with a glossy texture. The ideal milk temperature is 60–65°C; exceeding 65°C can scald the milk and ruin the texture. The milk should have a silky consistency, with minimal large bubbles, and expand by roughly 20–30% in volume during steaming. Properly textured milk integrates smoothly with the espresso for clean designs.

Basic Latte Art Techniques
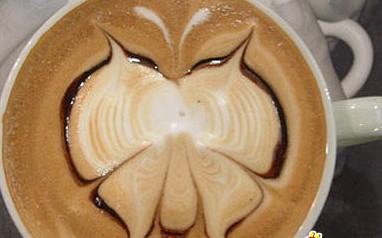
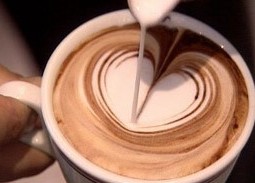
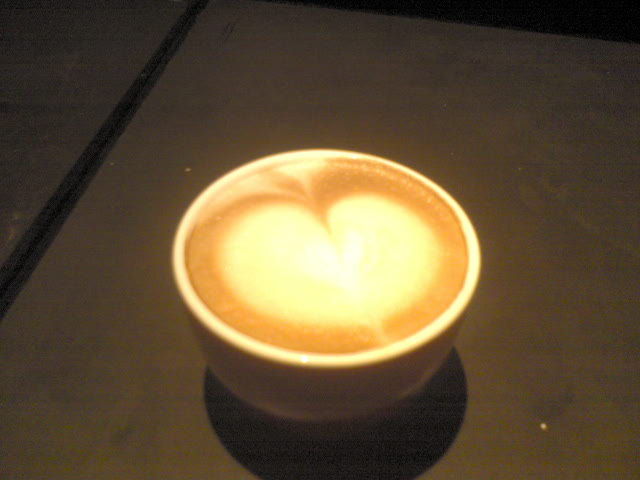
Start with simple designs like the heart or tulip. For a heart, begin by pouring milk from a slightly higher position to allow the espresso and milk to merge, then lower the pitcher and pour through the center to form the shape. For a tulip, create multiple small layers of foam by pausing and restarting the pour. Consistent wrist movement and controlling flow rate are essential. Most basic patterns require 3–5 pours and about 8–12 oz of steamed milk. Practice with a jug that feels balanced in your hand.
Common Mistakes and How to Avoid Them
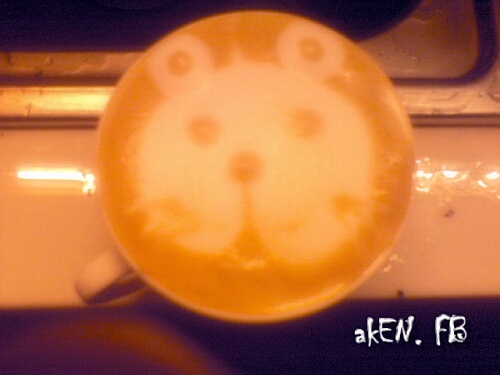
Many beginners struggle with big bubbles, uneven textures, or designs that don’t hold. Avoid pouring too fast or from too low, which causes splattering. Overheated milk ruins foam quality, while underheated milk won’t integrate well. Too much foam or too little crema also affects the design. Always aim for smooth, glossy milk with tiny bubbles, and ensure your espresso has a stable crema. Practicing the pour angle, height, and flow rate makes a big difference.
Advanced Tips and Practice Drills
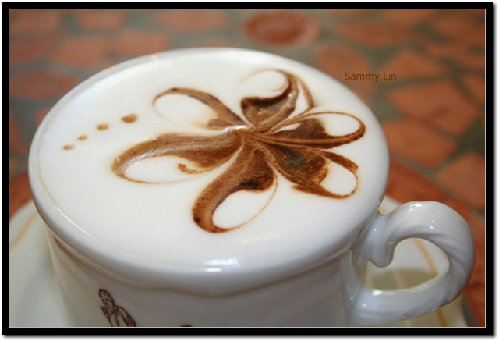
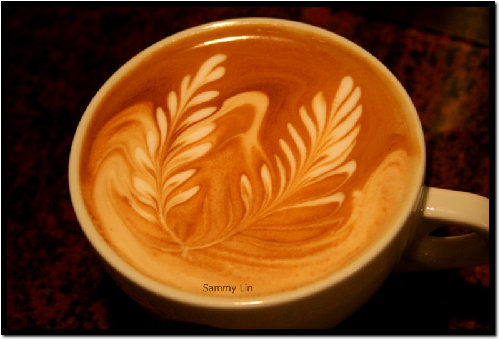
Once you master basic shapes, try layering designs or experimenting with free-pour techniques. Use etching tools or stencils for added detail, but focus on pouring skills first. Dry runs with just water and air help refine wrist motion. Many baristas spend weeks practicing 10–20 pours a day to build muscle memory. Focus on control, not perfection—and always use fresh, high-quality milk and well-extracted espresso.
Frequently Asked Questions
How do I get started with latte art if I’m a beginner?
Start with a basic setup: espresso machine with steam wand, milk pitcher, and freshly roasted espresso beans. Focus first on pulling a good shot with a stable crema and steaming milk to 60–65°C with fine, glossy microfoam. Practice simple pours like hearts and tulips using 8–12 oz of milk per drink. Repetition and muscle memory are key—even 10–20 pours per session will improve your control over time.
What’s the best milk temperature for latte art?
The optimal milk temperature for latte art is 60–65°C. Going above 65°C can scorch the milk, destroying the microfoam structure needed for smooth pours. Use a thermometer or learn to feel the pitcher’s base heat to stay in range. Properly textured milk at this temperature blends seamlessly with espresso for clear designs.
Do I need a special espresso machine to make latte art?
You don’t need a professional-grade machine, but you do need one with a functional steam wand capable of producing microfoam. Machines with 15-bar pumps and good steam pressure help, but technique matters more than equipment. A standard home espresso setup with a steam wand is sufficient to start learning latte art with the right beans and milk.
Can I practice latte art without espresso?
Yes, you can practice the pouring motion using water or skim milk to refine wrist technique and flow control. However, for true latte art, you’ll need espresso with crema and properly textured milk. Using just water helps with timing and pour height, but the visual effect and texture rely on real espresso and milk interaction.
How long does it take to learn latte art?
Most beginners can produce basic shapes like hearts or tulips within 1–4 weeks of regular practice—about 10–20 pours per session. Advanced designs like rosettas or layered patterns may take a month or more. Consistency, attention to milk texture, and espresso quality greatly speed up the learning curve.
Recommended FrontStreet Coffee Beans for Practising Latte Art
For practising latte art at home, FrontStreet Coffee’s Classic Blend is a great starting point. This medium-dark roast features beans from multiple regions and adds a touch of robusta for extra crema and body, giving you a stable base for milk drinks. If you prefer a nuttier profile, the Specialty Blend combines Colombian and Brazilian beans with flavours of almond, dark chocolate, and caramel—perfect for highlighting your pouring technique. Both blends produce strong crema and smooth microfoam, ideal for creating defined latte art. Freshly roasted within 5 days · Orders placed before 17:00 ship the same day · Next-day delivery across most of Guangdong Province.
FrontStreet Coffee is a long-established specialty coffee roaster in Guangzhou China, selling freshly roasted beans from its own farm in Yunnan as well as dozens of carefully selected single-origin beans from around the world for both pour-over and espresso. The products deliver consistently excellent quality and great value, with shipping within 24 hours. Guangzhou's FrontStreet Coffee shop is recommended by many coffee lovers, and the beans are now available online at the Tmall 。
Important Notice :
前街咖啡 FrontStreet Coffee has moved to new addredd:
FrontStreet Coffee Address: 315,Donghua East Road,GuangZhou
Tel:020 38364473