How to make milk foam, how to beat milk foam by hand?
Follow the caf é (Wechat official account vdailycom) and found that Beautiful Cafe opened a small shop of its own.
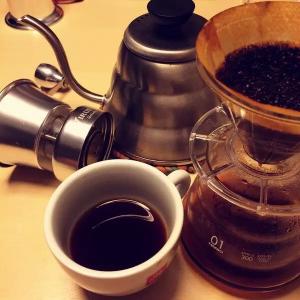
What we need is very simple-a bubble pot, a box of whole milk, a cup of espresso or a cup of coffee, a glass, a spoon, and a mouth cloth (which can be replaced with a clean rag). Here are the things we need:
Step 1: fill the bubble pot with 1PUBG 3 whole milk
The second step is to cover the lid and put a cloth around the mouth of the pot to prevent the milk from spilling during the beating.
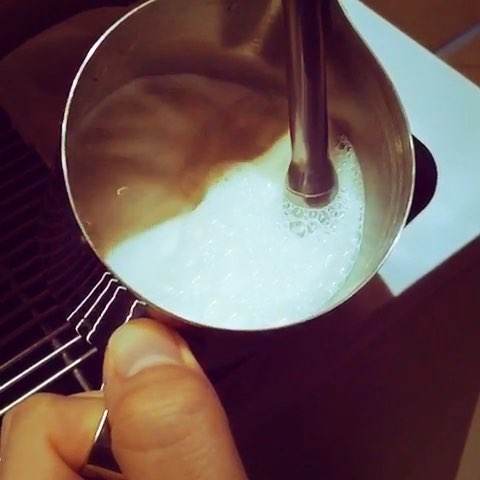
Step 3: grab the black ball on the top of the milk bubble pot and quickly beat it back and forth (below is the milk foam)
Step 4: pour the whole milk into the cup.
Step 5: dig the beaten foam into the cup as long as the foam
Step 6: slowly pour the coffee liquid into the foam (pour slowly from the center)
The last step is to dig a little foam at the entrance of the coffee liquid to ok, and the perfect layered coffee will be done.
How to foam whole milk
Milk foam refers to the final product formed after the full mixing of hot milk and foam after milk foam operation, because the fat content in skimmed milk is too low, so the taste of milk foam is much worse than that of full fat, and the milk is the most at 50 ℃. The foam is also meticulous and maintained for a long time.
The first step: first do fast low hit, hit until there is obvious resistance and a sense of continuity. Next to do in the hit, also hit with obvious resistance and a sense of continuity. In the end, when you hit high, there is resistance and a sense of consistency as a whole. Tip: pay attention to the height of the twitch.
Step 2: repeat the first step. In this way, the process of manual milking is completed. If you want your foam not to be too thick, to have a certain sense of flow, just take the first step. Pulling out the piston vertically after foam is helpful to drive out a lot of coarse bubbles.
Heat the milk (milk that can be foamed and held, recommended Nestle) to a temperature that is hot (60 to 70 degrees) but can be held. What kind of heating method is used is not important, the key is to reach this temperature (why this temperature should be reached will be discussed later). The heating method used in the store I have instructed is the microwave oven. at first, it is slowly trying to find out how long it takes to heat the milk to the target temperature with a big fire, and then just put the milk in and heat it at the time after the test. it's very convenient and very fast.

The key steps of milk foam treatment
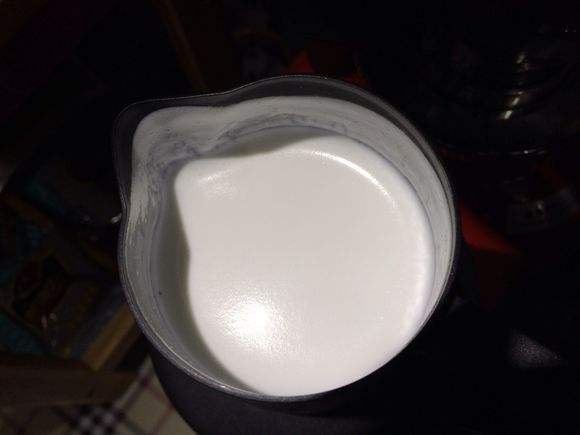
After the milk is dismissed, it is not the ideal foam, but in a layered state. The lower layer is the heated milk, and the upper layer is the "foam" after the milk is dismissed, so we have to deal with the milk after discarding. Shake up and down to remove the coarse foam from the surface. Shake and let the hot milk mix well with the top foam to form foam. This step can also be achieved by reversing the two jars. This step is very critical, some friends do not attach great importance to this point, then all previous efforts will be wasted.
Pour the finished product back and forth several times in two jars, fully mix the hot milk and foam, then divide them equally between the two jars, and then pour back and forth a few times "in a small amount" so that they are evenly distributed. Many friends only do the front action and do not do a small amount of distribution in the back, so there will be unevenness. Of course, it's hard to understand if you describe it in words, but you'll understand if you try to do it a few times. To put it simply, it is to allocate the amount of milk foam. By using this method, the thickness of the foam in the two cups can be achieved.
Warm reminder: first, before pulling flowers, the milk foam has been in a shaking state in the flower jar to avoid the stratification caused by this to appear again, this is a professional habit, which must be developed. Second, when shaking, if the milk foam is concentrated in the middle of the vortex formed as a small ball, which proves that the milk foam is unevenly distributed, it needs to be distributed again.
Isn't it simple? isn't the milk bubble pot amazing (remember to use cold milk).
Important Notice :
前街咖啡 FrontStreet Coffee has moved to new addredd:
FrontStreet Coffee Address: 315,Donghua East Road,GuangZhou
Tel:020 38364473
- Prev

Taiwan's 17-year-old youngest barista reveals Taiwan's educational blind spot
The test of 100 points is definitely empty, everyone may test 100 points, and what is affirmed is that the test is good. However, it is very good at making desserts. It belongs exclusively to Chen Yuanqiao. It is unique! In the second semester of senior high school, she could no longer stand the life of waiting for class every day. She decided to drop out of school and stumble all the way. At the age of 17, she became the youngest barista with excellent grades! for
- Next

How to use the coffee machine to hit the milk foam, what to pay attention to
Semi-automatic coffee machine foam general method is rotating foam method VS tumbling bubble method from a technical point of view, tumbling bubble method is relatively more difficult than rotation foam method. I prefer the rotation bubble method, what I use is the rotation bubble method, the feeling effect is better. How to operate: the coffee machine is in a normal ready state, add the right amount of milk to the milk jar (
Related
- What is the meaning of lactic acid fermentation with coffee bean treatment?
- How to judge the state of foam by sound?
- How does the latte pull out the unicorn pattern? Come to get for a little trick to improve the flower pull!
- Will flower pulling affect the taste of the latte?
- Do you know the history of coffee?
- The difference between honey treatment and sun washing what is raisin honey treatment?
- What kind of milk can a novice use to make coffee foam to keep the foam longer? The correct method and skills of milking tutorial sharing
- Why do washed coffee beans taste sour? Flavor characteristics of washed Coffee
- Introduction to the skill of how to practice the size and height of water injection around the circle of hand-brewed coffee
- How do beginners practice coffee flower drawing from scratch?

