How to Do Latte Art Stenciling: Two Pro Methods
If you’ve ever watched a barista sprinkle cocoa powder over a cappuccino and magically create a heart or your name—without free pouring—you’ve seen latte art stenciling. It’s a simple but effective way to decorate espresso drinks without needing advanced pouring skills. But how does it really work? And can you do it at home?
The short answer: yes. There are two proven methods. One involves letting milk foam settle for 30 seconds, pouring just the espresso-creamed milk part, then spooning foam on top and dusting with cocoa or cinnamon through a stencil. The other skips the wait, pours everything together with no visible foam on top, and uses powdered sugar and a stencil instead.
What Is Coffee Stenciling ?
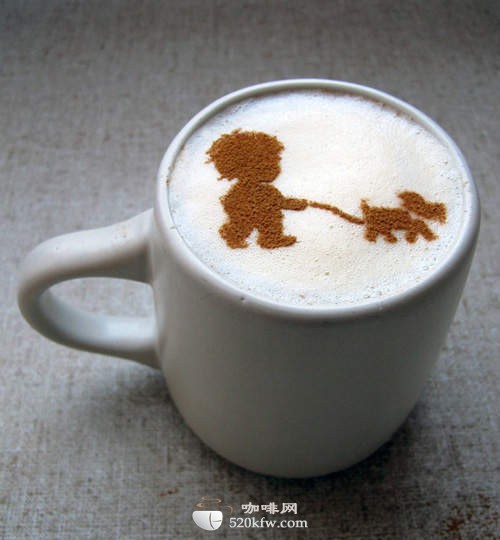
Coffee stenciling—also called latte art stenciling or in Chinese—is a straightforward technique used to apply patterns or text onto the surface of a coffee drink. Rather than free-pouring latte art, baristas use a physical stencil (often metal or plastic with cut-out designs) and dust fine powders like cocoa or sugar over it to create an image. It’s commonly seen on cappuccinos, lattes, and flat whites where a clean, contrasting design is desired.
How the Two Main Methods Differ
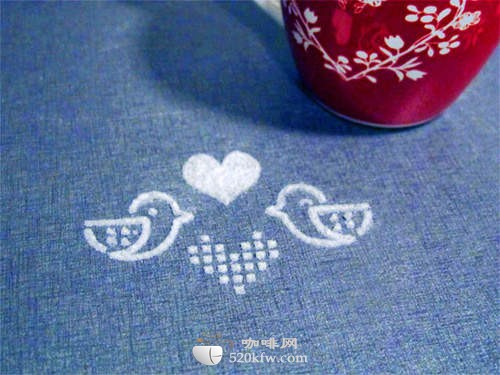
Both methods rely on a stencil placed 1 cm above the coffee’s surface, but they diverge in milk preparation and pouring technique:
- Method 1 (With Separated Foam): After steaming milk, let it rest for about 30 seconds so the foam begins to separate from the liquid. Pour the espresso first, then add just the milk (not the foam) to integrate with the shot. Next, use a spoon to hold back the foam while pouring the milk, then place the foam on top to create a smooth, white surface. Finally, hold a graphic stencil 1 cm above the coffee and dust cocoa or cinnamon powder through it.
- Method 2 (Without Visible Foam): Steam the milk and immediately pour it together with the espresso—no resting period. Carefully pour so no white foam appears on the surface. Once the drink is poured, place a stencil 1 cm above the flat, creamy surface and dust powdered sugar through the design cut-outs to reveal the pattern.
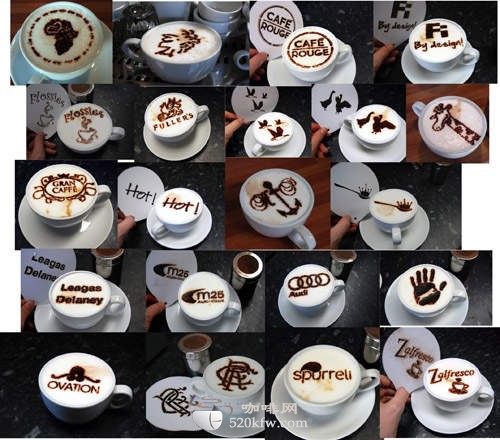
Why the 30-Second Wait Matters (Method 1)
In the first method, that 30-second rest after steaming is crucial. It allows the milk foam to rise and thicken slightly while the denser, creamy milk settles beneath. By waiting, you create a more controllable separation: the bottom layer is ideal for integrating smoothly with the espresso, while the top layer becomes a thick, sculptable foam perfect for capping the drink. This approach gives you a blank, snowy canvas for the stencil design.

Why Skip the Foam (Method 2)?
Method 2 avoids creating any visible milk foam on top. That means the drink’s surface remains smooth and level, which helps when using powdered sugar. Without clumps or bubbles, the stencil lies flatter against the coffee, allowing finer, sharper lines when the sugar is dusted. It's ideal when you want a cleaner, more minimalist look with no foam texture interfering.
What You’ll Need for Both Methods
- Freshly pulled espresso shot
- Steamed milk (ideally microfoam, around 60–65°C)
- Milk foam (for Method 1)
- Stencils with graphics or text (metal or plastic, 1 cm above surface)
- Cocoa powder, cinnamon, or powdered sugar (depending on method)
- Spoon (for holding back foam in Method 1)
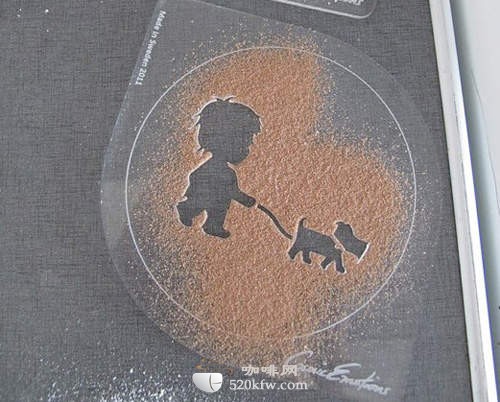

Step-by-Step: Method 1 (Foam & Cocoa)
- Pull a standard espresso shot.
- Steam milk and let it rest for ~30 seconds to allow foam-milk separation.
- Pour the espresso into your cup.
- Add just the steamed milk (not foam) to the espresso to start integration.
- Use a spoon to hold back the foam, pour milk to the desired level, then scoop foam on top to form a smooth cap.
- Hold a stencil 1 cm above the foamed surface.
- Sprinkle cocoa or cinnamon powder over the stencil to reveal your design.
Step-by-Step: Method 2 (Direct Pour & Powdered Sugar)
- Pull a standard espresso shot.
- Steam milk and immediately combine with espresso—do not wait.
- Pour carefully to avoid creating a layer of white foam on top.
- Ensure the top of the coffee is smooth and flat.
- Hold a stencil 1 cm above the coffee surface.
- Sprinkle powdered sugar over the stencil to create your pattern.
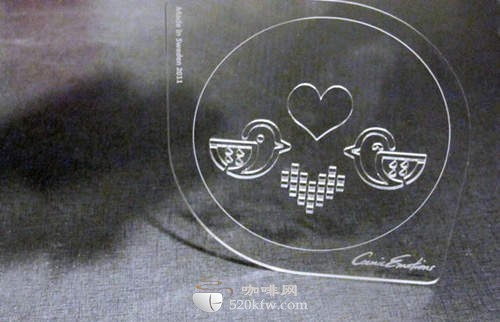
Common Mistakes to Avoid
- Not letting milk rest long enough in Method 1 (foam won’t separate properly).
- Pouring too aggressively and creating visible foam in Method 2 (ruins the powder application).
- Placing the stencil too close or too far from the coffee surface (1 cm is ideal for even distribution).
- Using coarse or clumpy powder (use fine cocoa, cinnamon, or powdered sugar only).
Frequently Asked Questions
Can I use regular coffee instead of espresso for stenciling?
No. The stenciling method relies on a smooth, dark surface to contrast with the cocoa or sugar. Espresso provides that deep base. Regular brewed coffee is too light and inconsistent in colour, making designs hard to see.
Do I need special equipment to start coffee stenciling?
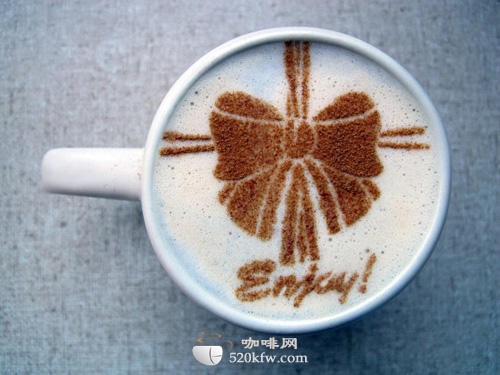
Not really. All you need is a stencil (metal or plastic), a spoon, and fine powder like cocoa or powdered sugar. Most coffee shops use basic tools. You can get stencils online or make simple ones yourself.
Which type of milk works best?
Whole milk is traditional because it creates rich microfoam ideal for the foam cap in Method 1. However, you can use any milk or plant-based alternative—if it steams well and can hold a foam, it will work for either method.
Is one method better for beginners?
Method 2 (direct pour with powdered sugar) is often easier for beginners because it skips the foam separation step and doesn’t require managing a spoon to hold back foam. The flat surface helps with clean powder application.
Can I create custom stencils?
Yes. Many baristas print custom designs on waterproof paper or use laser-cut plastic. As long as the stencil maintains a 1 cm gap and has cut-out areas for powder, you can create any text or image you like.
Recommended FrontStreet Beans for Milk-Based Coffee Drinks
For stenciled milk drinks like lattes and cappuccinos, try FrontStreet Coffee’s Ethiopia Huakui—a bright Ethiopian single origin with blueberry and floral notes that still shine through milk—or the Classic Blend, a well-balanced mix with chocolate and caramel perfect for showcasing latte art. For something deeper, the Black Cocoa Blend offers rich cocoa and dark cherry tones that pair beautifully with stenciled cocoa powder. Freshly roasted within 5 days · Orders placed before 17:00 ship the same day · Next-day delivery across most of Guangdong Province.
FrontStreet Coffee is a long-established specialty coffee roaster in Guangzhou China, selling freshly roasted beans from its own farm in Yunnan as well as dozens of carefully selected single-origin beans from around the world for both pour-over and espresso. The products deliver consistently excellent quality and great value, with shipping within 24 hours. Guangzhou's FrontStreet Coffee shop is recommended by many coffee lovers, and the beans are now available online at the Tmall 。
Important Notice :
前街咖啡 FrontStreet Coffee has moved to new addredd:
FrontStreet Coffee Address: 315,Donghua East Road,GuangZhou
Tel:020 38364473