
How to Pack Coffee Grounds for the Best Extraction
If your espresso shots taste sour or bitter, your pour-over lacks clarity, or your moka pot coffee is harsh, the issue might not be your beans—it’s how you prepare the coffee grounds. From tamping pressure to bloom timing, small variables drastically affect extraction. Here’s exactly how to handle coffee grounds for every classic brewing method.
To make great coffee, you need the right grind, tamp, and water temperature. For espresso, aim for a 30-pound (13–15 kg) tamp. For pour-over, wet grounds before brewing. For moka pots, don’t overfill. Keep water just off boil (92–100°C depending on method) and always bloom when required. These steps ensure balanced extraction.
How to Pack Coffee for an Espresso Machine
Italian espresso machines force steam through packed coffee grounds under pressure. The contact time between steam and grounds directly determines extraction quality—so how you pack the portafilter matters.
Step-by-Step: Packing an Espresso Portafilter
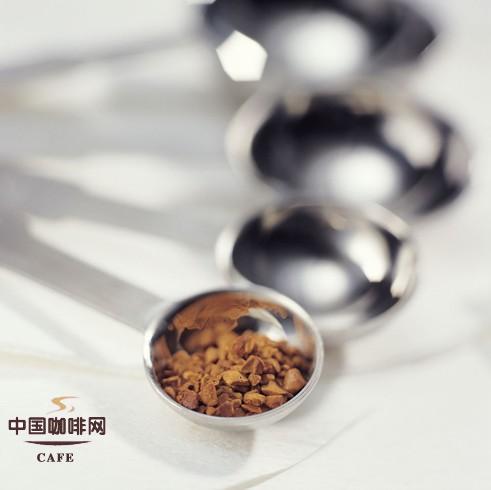
- Level the Coffee: Scoop grounds into the portafilter. If they rise above the rim, scrape off the excess with a flat knife or spoon.
- Distribute Evenly: Tap the portafilter lightly on a flat surface to settle the grounds. Heavier metal portafilters help withstand repeated tapping.
- Tamp with Even Pressure: Press the grounds using a tamper. Keep the surface level—if uneven, water flows faster through looser areas, leading to channeling. Use your thumb pad for consistent force. Experiment to find the right pressure for your beans and machine.
- Polish the Surface: Remove any loose coffee from the edges, then rotate the tamper 90 degrees and press again. Clean grounds off the portafilter rim.
- Brew: Lock the portafilter in place, add water as directed, and start extraction.
Espresso Packing Tips
- If using a home machine with a pre-infusion (or “rinse”) cycle—where water wets the puck before full pressure kicks in—you can replicate this manually: turn off the machine after 10 seconds, wait 3 seconds, then restart.
- Fine grinds need lighter tamping to avoid slowing extraction too much. Coarse grinds need firmer tamping to slow water flow.
- Always warm up your machine before brewing. Don’t let brewed coffee sit on the machine for more than 20 minutes—it loses freshness.
How to Brew Pour-Over Coffee
Pour-over may look simple, but without proper technique—especially water control and pre-wetting—the result can disappoint.
Step-by-Step: Making Filter Coffee
- Fold the Filter: Inspect for damage or dampness, then fold the seam-side of the paper filter once forwards and once backwards. Open it into a cone and place it snugly in the dripper.
- Add Coffee Grounds: Use 12–15 grams per cup. Grind size varies by recipe. Tap the filter to settle grounds, then place it on the server.
- Heat Water: Use filtered water. Heat to 100°C, aiming for 180–200 ml per cup.
- Preheat Equipment: Before brewing, pour hot water into the server and dripper to warm them. Discard this water before brewing.
- First Temperature Drop: Wrap a wet towel around the kettle. Let boiled water sit for 20–30 seconds to cool to around 92°C.
- Bloom: Start pouring with a thin stream in a spiral from the center outward. Wet all grounds evenly until they expand slightly—just enough to see a few drops dripping (ideally under five). This is the bloom phase.
- Second Temperature Drop: After blooming, cool the water again for 20–30 seconds to reach about 85°C.
- Pour: Pour in a steady spiral from the center out. Keep the flow consistent and aim for 150–180 ml total. Finish by pouring in the center to settle the bed. A well-brewed cup should have a slight dome of grounds left on the filter.
Pour-Over Tips
- Use freshly boiled water—not reboiled or kept warm in a thermos.
- Cooling the water prevents scalding the grounds, which damages aroma.
- Stand while pouring for better control. Use your upper body to create a smooth, stable pour—don’t rely on your wrist.
- Even, stable flow is critical—uneven pouring leads to channeling and off-flavors.
How to Use a Moka Pot
The stovetop moka pot creates strong, espresso-like coffee. But improper packing or water temperature leads to burnt or sour results.
Step-by-Step: Brewing with a Moka Pot
- Boil Filtered Water: Use about 30 ml per cup. Don’t fill above the safety valve in the bottom chamber.
- Prepare Filter (Optional): Place a rinsed filter paper or cloth inside the basket to reduce sediment. Cut it to size if needed.
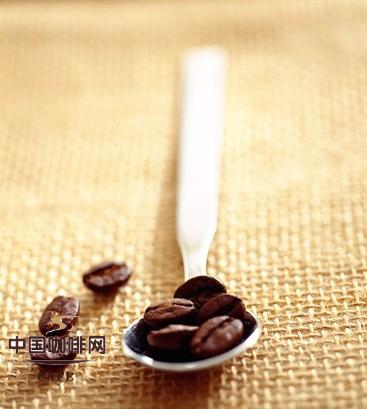
- Add Coffee Grounds: Level the grounds with your finger, then gently press with a tamper or distributor tool—don’t tamp hard.
- Assemble the Pot: Lock the filter in place. Avoid getting coffee on the rubber gasket.
- Brew: Place the moka pot on heat. Listen for a hissing sound that turns to bubbling—when the bubbling starts, extraction is nearly done. You can also check visually: if no more steam escapes from the valve, it’s ready.
Moka Pot Tips
- Adjust coffee dose to taste—experiment based on your moka pot size.
- Don’t use a filter larger than the basket—it increases pressure unnecessarily.
- The distributor tool helps control dose in larger pots when making smaller amounts.
How to Brew with a Siphon (Vacuum) Coffee Maker
Siphon brewing creates theatre—and great coffee—if you get the grind and heat right.
Step-by-Step: Siphon Brewing
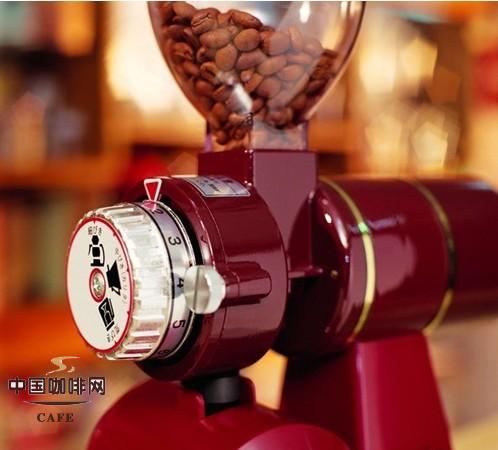
- Choose Grind Size: Grind coffee to a near powdered sugar or fine sand consistency.
- Prepare Filter: Place the cloth or paper filter in the top chamber and secure it centered.
- Add Coffee: Use about 15–22 grams per cup (15 grams is common). For 110 ml water, 15–18g is typical.
- Heat Water: Boil water to 100°C.
- Assemble & Heat: Place the top chamber on the bottom. As water heats, it will rise into the top chamber via the siphon tube.
- Stir & Bloom: Once half the water rises, stir grounds gently. Let sit for 30–50 seconds (this is the bloom/mixing phase).
- Settle & Serve: After 30–50 seconds, turn off the heat. Bubbles will shrink, and the coffee will clarify. Stir again or cool the bottom chamber with a wet cloth to draw the coffee down. Pour and enjoy.
Siphon Tips
- Use medium-fine grind—finer than table salt, coarser than espresso.
- Watch flame height to avoid excessive bubbling.
- Cooling the base quickly helps the coffee draw down smoothly.
Frequently Asked Questions
How hard should I tamp espresso grounds?
For most home espresso machines, aim for a tamp pressure of around 30 pounds, or roughly 13–15 kilograms. Too light and water flows too fast, causing under-extraction; too hard and flow is restricted, leading to over-extraction. Adjust based on your specific beans and machine behavior.
Do I really need to bloom my pour-over coffee?
Yes. Blooming—wetting the coffee grounds before the main pour—releases trapped CO₂ and ensures even saturation. This step improves clarity and flavor. Use just enough water to wet all the grounds (usually until a few drops fall), then wait 30–45 seconds before continuing.
What temperature should water be for moka pot coffee?
Water in the bottom chamber should not exceed the safety valve level, and you want the brew temperature to be around boiling (92–100°C). Use a towel to cool the kettle briefly if needed, aiming for about 92°C after the initial bloom phase.
How much coffee should I use in a moka pot?
There’s no fixed rule, but fill the basket level with finely ground coffee. Avoid tamping hard. Experiment based on your moka pot size and taste preference—more coffee or finer grind makes stronger coffee.
What grind size is best for siphon coffee?
Use a grind close to powdered sugar or fine sand—slightly finer than table salt but coarser than espresso. This allows proper extraction during the siphon’s vacuum phase without clogging or over-extracting.
Why should I preheat my equipment before brewing?
Preheating prevents temperature shock, which can stall extraction or degrade aroma. Always warm your dripper, server, portafilter, or siphon components with hot water before brewing to maintain optimal thermal stability.
Recommended FrontStreet Beans for Espresso & Filter
For espresso, try FrontStreet’s Ethiopia Huakui—bright with citrus and floral notes, or their PWN Golden Mandheling, offering chocolate and nut depth. For filter, the FrontStreet Yirgacheffe brings juicy berry tones, ideal for pour-over. All three beans highlight how grind, dose, and water temp shape flavor. Freshly roasted within 5 days · Orders placed before 17:00 ship the same day · Next-day delivery across most of Guangdong Province.
FrontStreet Coffee is a long-established specialty coffee roaster in Guangzhou China, selling freshly roasted beans from its own farm in Yunnan as well as dozens of carefully selected single-origin beans from around the world for both pour-over and espresso. The products deliver consistently excellent quality and great value, with shipping within 24 hours. Guangzhou's FrontStreet Coffee shop is recommended by many coffee lovers, and the beans are now available online at the Tmall 。
Important Notice :
前街咖啡 FrontStreet Coffee has moved to new addredd:
FrontStreet Coffee Address: 315,Donghua East Road,GuangZhou
Tel:020 38364473


