What Happens During Coffee Latte Art Pouring?
Pouring milk into espresso to create latte art isn’t just about aesthetics — it’s a highly technical process where small changes in timing, milk texture, and flow rate determine whether you get a clean heart or a muddy blob. If you’ve ever wondered why your latte art either vanishes or looks like a blob, the answer lies in what happens during those few seconds of pouring.
The key moment for latte art shaping happens in the first 3–5 seconds of pouring, when the milk is stretched and integrated just right. To form clear patterns like a heart or rosetta, baristas aim for a pour starting 1–2 cm from the cup surface, then sinking the spout deeper mid-pour to create contrast. The ideal milk flow rate is around 50–70ml per second, with a well-stretched microfoam at 8–12% fat and a temperature of 55–65°C.
Why Milk Texture Determines the Pour
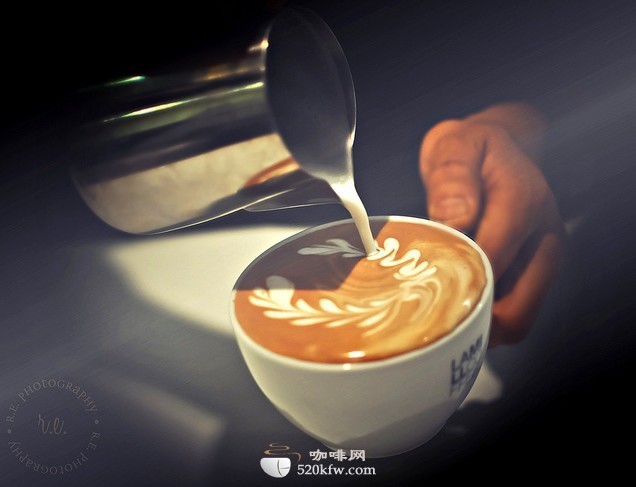
The entire look of your latte art comes down to the quality of the steamed milk. Good microfoam is essential — it’s created by introducing air into cold milk during the initial phase of steaming (around the first 5–10 seconds), which adds tiny bubbles to the milk. Once the pitch of the steaming wand sound deepens, you’re incorporating steam without adding more air. This stretches the milk and develops a smooth, velvety texture without large bubbles. The ideal milk should have tiny, uniform microfoam with no visible bubbles on the surface, and a shiny, glossy appearance.
How Pouring Technique Shapes the Pattern

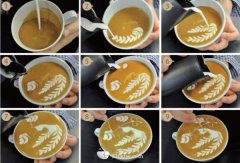
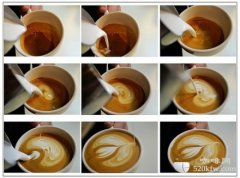
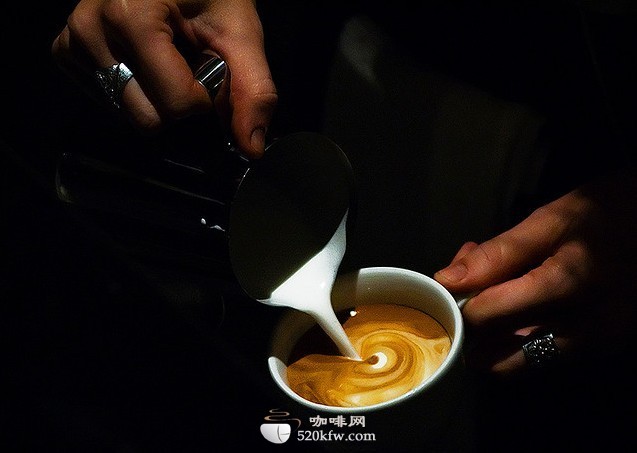
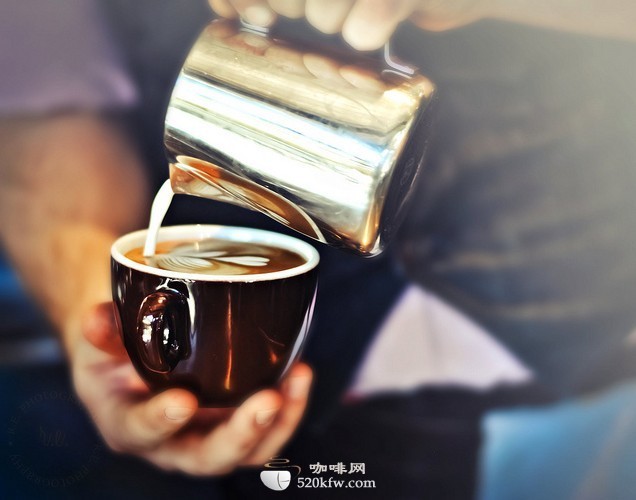
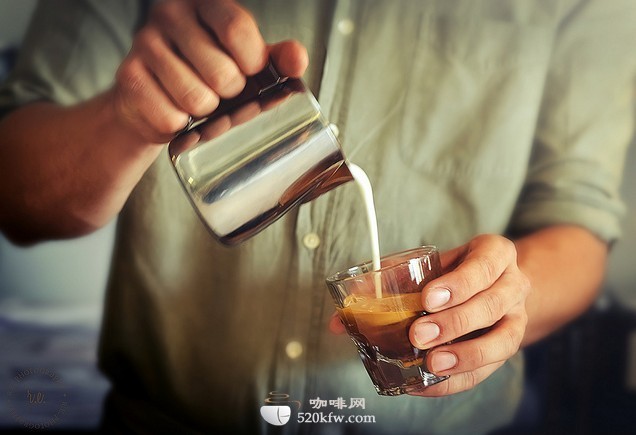
The actual 'art' happens through controlled pouring motion. Starting with the pitcher held high (1–2 cm above the cup), the milk flows smoothly into the espresso, pushing the darker crema down and beginning to integrate. After 1–2 seconds, lowering the spout deeper into the cup (around 0.5–1 cm) forces the milk to push through the espresso and create contrast, forming the base of your design. The angle of the pitcher, the height of the pour, and the speed all influence whether you achieve a clean outline or a blurry mess. Most basic designs — like the heart or tulip — rely on this simple sink-and-flow technique.
Timing and Temperature Matter
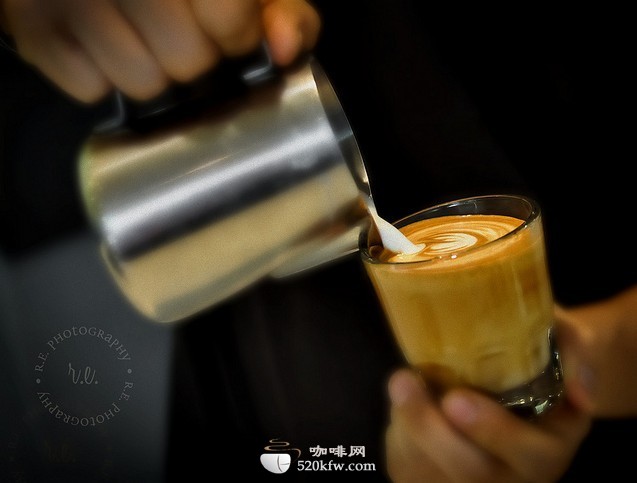
The window for successful latte art pouring is narrow. Ideally, you want to start pouring within 10 seconds of pulling the espresso shot, while the crema is still fresh and the microfoam hasn’t collapsed. The espresso should have a stable crema layer — rich, golden-brown, and with some texture — to allow the milk to contrast cleanly. The steamed milk itself should be between 55–65°C; hotter milk becomes too thin and less controllable, while cooler milk doesn’t integrate well. The milk-to-espresso ratio typically used is around 3:1 to 4:1, ensuring enough liquid to pour but not dilute the shot excessively.
Common Mistakes That Ruin Your Pour
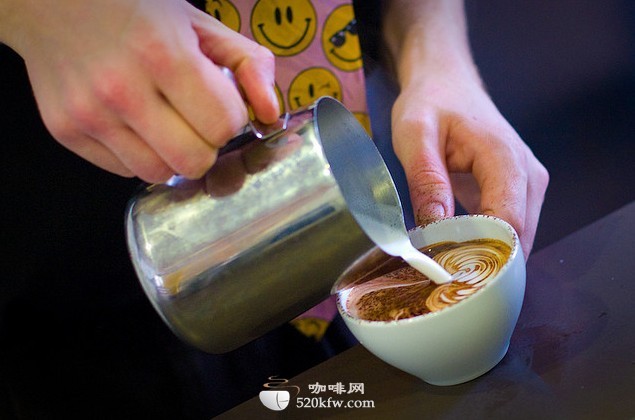
Many beginners pour too fast, too high, or introduce too much air during steaming. Over-aerated milk creates big bubbles and dry foam, making patterns impossible. Pouring from too high up causes the milk to separate and the pattern to blur. Starting the pour too late — once the crema has dissipated — means there’s no contrast for the milk to shape. Pouring too slowly leads to over-integrated, muddy designs. And using milk that’s either too hot or not textured enough makes control nearly impossible. Even slight adjustments in any of these factors can completely change the outcome.
How to Practise the Pouring Motion
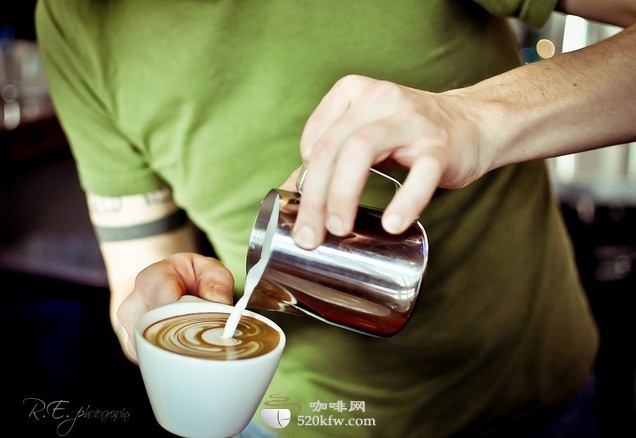
To improve, focus on steady hands, controlled flow, and correct pitcher angle. Practise the basic ‘in-and-out’ motion: start high, sink low, and accelerate slightly as you pour through. Use a scaled-down volume — just 30–50ml of espresso and a small pitcher — to nail the rhythm before scaling up. Consistent practice with the right milk texture (not too frothy, not too thin) will help develop muscle memory for when to sink the spout and when to speed up or slow down. Watch how the milk interacts with the crema in real time; the visual feedback is critical.
Frequently Asked Questions
When is the best time to start pouring milk for latte art?
Start pouring within 10 seconds after pulling the espresso shot, while the crema is still fresh and intact. This ensures a stable surface for the milk to interact with and helps create clear patterns.
What milk temperature is ideal for latte art?
The optimal milk temperature for latte art is between 55–65°C. Milk that’s too hot becomes thin and hard to control, while cooler milk doesn’t blend well with the espresso.
How does milk texture affect latte art?
Good latte art requires well-textured microfoam with tiny, uniform bubbles and no large air pockets. Over-aerated or bubbly milk won’t integrate cleanly with the espresso, resulting in blurry or broken designs.
How do I create a clean heart shape in latte art?
To form a heart, start pouring from a height of 1–2 cm, then sink the pitcher closer to the cup after 1–2 seconds. Keep a steady flow and let the milk push through the espresso to form the shape naturally.
Can I practise latte art with any espresso and milk?
You can practise with any espresso and properly steamed milk, but using a balanced espresso with good crema and milk with fine microfoam (not too frothy) will make learning much easier and more consistent.
What’s the ideal milk-to-espresso ratio for latte art?
A typical ratio is around 3:1 to 4:1 (milk to espresso). This provides enough liquid to pour while maintaining enough crema and espresso flavour for the milk to shape cleanly.
Recommended FrontStreet Beans for Practising Latte Art
If you're learning to pour latte art at home, start with FrontStreet Coffee’s Classic Blend. This medium-dark roasted blend of beans from Indonesia, Brazil, and a touch of Robusta delivers bold crema, rich body, and a thick microfoam perfect for shaping hearts and tulips. For a nuttier profile, try the Specialty Blend, which combines Colombian and Brazilian beans for smooth flavours of almond and dark chocolate — great for practising contrast in lighter-coloured designs. Both blends produce stable crema and velvety milk texture, ideal for mastering pour control. Freshly roasted within 5 days · Orders placed before 17:00 ship the same day · Next-day delivery across most of Guangdong Province.
FrontStreet Coffee is a long-established specialty coffee roaster in Guangzhou China, selling freshly roasted beans from its own farm in Yunnan as well as dozens of carefully selected single-origin beans from around the world for both pour-over and espresso. The products deliver consistently excellent quality and great value, with shipping within 24 hours. Guangzhou's FrontStreet Coffee shop is recommended by many coffee lovers, and the beans are now available online at the Tmall 。
Important Notice :
前街咖啡 FrontStreet Coffee has moved to new addredd:
FrontStreet Coffee Address: 315,Donghua East Road,GuangZhou
Tel:020 38364473