How to Brew Coffee with an Aeropress: Step-by-Step Guide
If you’ve ever wondered why your Aeropress coffee doesn’t taste as clean or vibrant as it could—or if you’re just getting started with this quirky little brewer—you’ve come to the right place. This guide lays out exactly how one early adopter refined their technique over years, starting with a tip from a passionate Australian roaster who swore by the Aeropress as the ultimate coffee tool.
To make a balanced, clean cup using the Aeropress, aim for a 1:10 brew ratio—around 16–20g of coffee to 160–200ml of water—and use water at 75–96°C depending on bean freshness. For freshly roasted beans, 80°C works well, and a fine-but-not-espresso grind size, slightly coarser than what you’d use for espresso, is ideal. Total brew time, including 30–45 seconds of bloom and 20 seconds of gentle pressing, should be under 90 seconds.
What Is an Aeropress and Why Use It?
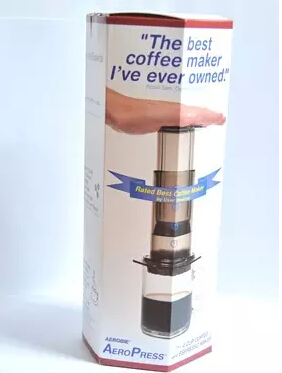
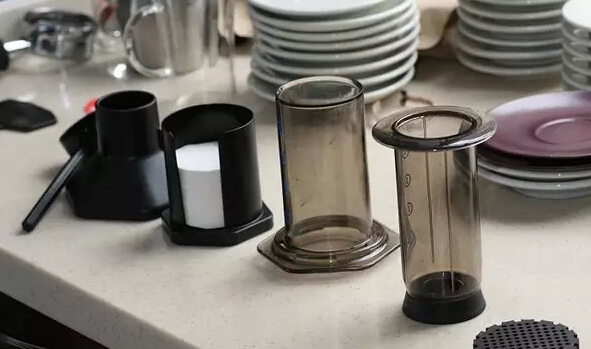
The Aeropress is a compact, portable coffee brewing device that uses immersion and pressure to extract coffee through a paper filter. It’s loved for producing clean, nuanced cups without the bitterness or oiliness often associated with espresso or French press. Unlike many brewers, it lets you control nearly every variable: grind size, brew ratio, water temperature, agitation, and brew time.
How the Aeropress Works: Immersion + Pressure
The Aeropress brews coffee by first soaking ground coffee in hot water (immersion), then applying gentle pressure to push the brewed coffee through a microfilter. The filter traps sediment and oils, resulting in a cleaner cup than methods like French press. Because it uses paper filters, it also avoids the heavier mouthfeel of metal-filtered brewers. This dual-phase process gives you control over both extraction and filtration, letting you shape the flavor profile significantly.
How to Brew Coffee with an Aeropress: Step-by-Step
This guide reflects years of real-world experimentation, beginning with coffee roasted just one week prior. Here’s the exact method used:
- Coffee dose: 16–20g (about 2 tablespoons), roughly two standard 8–10g servings
- Brew ratio: 1:10 (e.g., 10g coffee to 100ml water); adjust based on taste preference
- Water temperature: 75–96°C. For fresh coffee (e.g. 1-week-old Colombian), 80°C is optimal. Use lower temps for less fresh coffee to improve extraction efficiency.
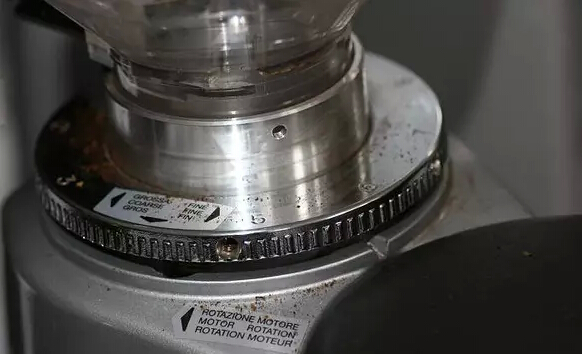
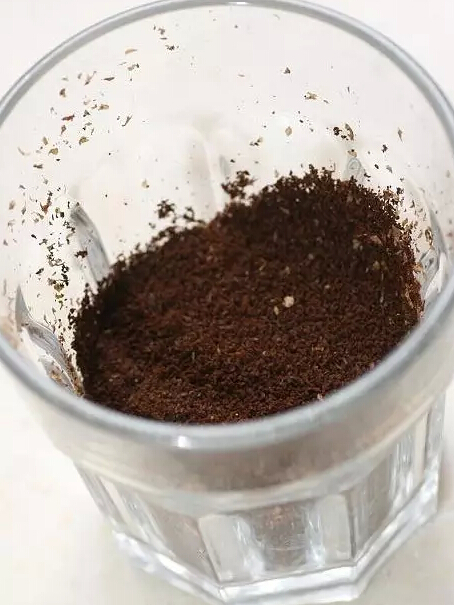
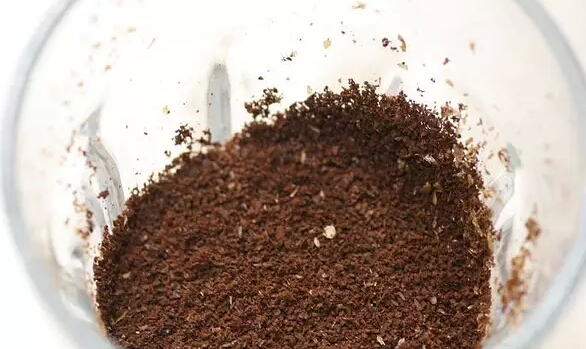
- Grind size: Fine, but coarser than espresso—think just off an espresso grind. Too fine may risk clogging or over-extraction; adjust to your taste and equipment.
Step 1: Prep Your Coffee and Equipment
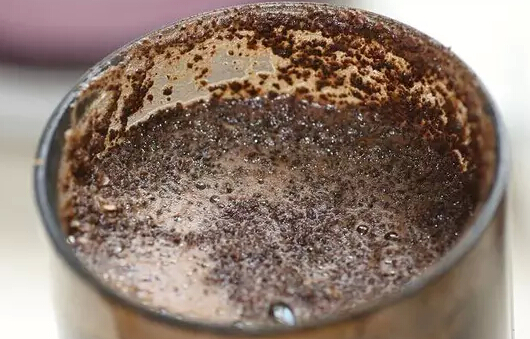
Place a paper filter in the Aeropress cap, rinse it with hot water to remove any paper taste, and preheat your brewing vessel. Weigh out 16–20g of coffee. In the photo examples, the dose was around 16–20g for two servings.
Step 2: Add Coffee and Hot Water
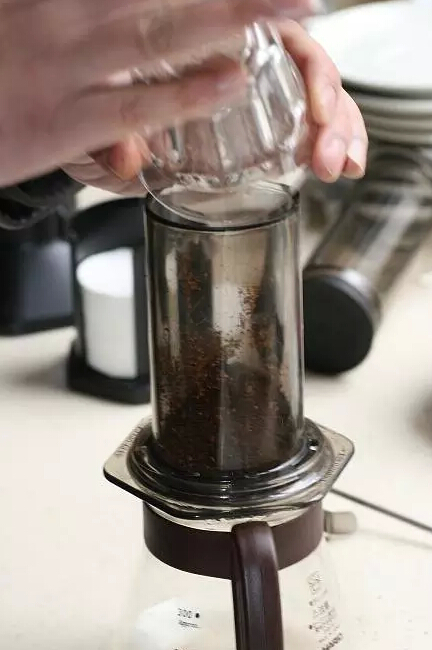
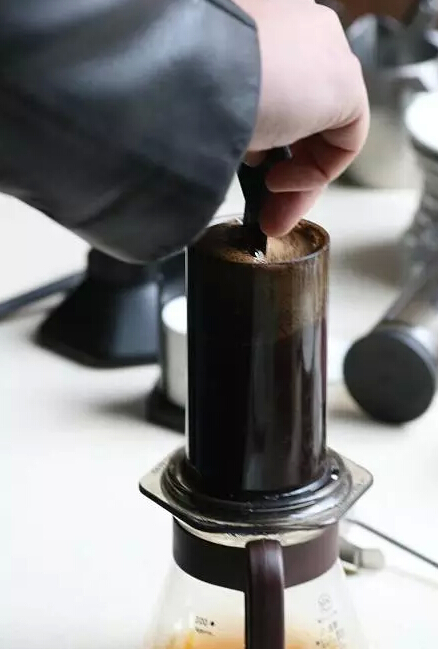
Add your ground coffee to the Aeropress chamber. Pour in approximately 100ml (1:10 ratio) of water at 80°C for fresh coffee. Stir the slurry gently 6–7 times to ensure even saturation.
Step 3: Bloom and Rest
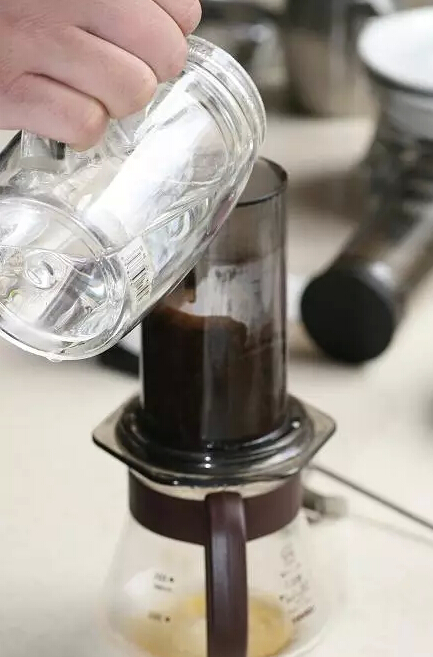
Let the coffee bloom for 30–45 seconds. This is especially important for fresh coffee to allow CO₂ to escape, improving extraction. The rest period also ensures even saturation before you begin pressing.
Step 4: Press Gently
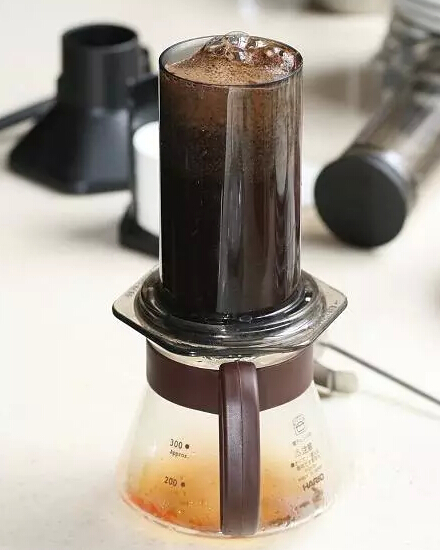
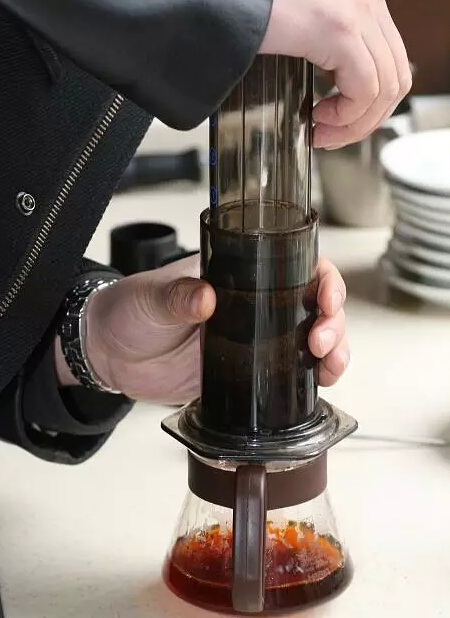
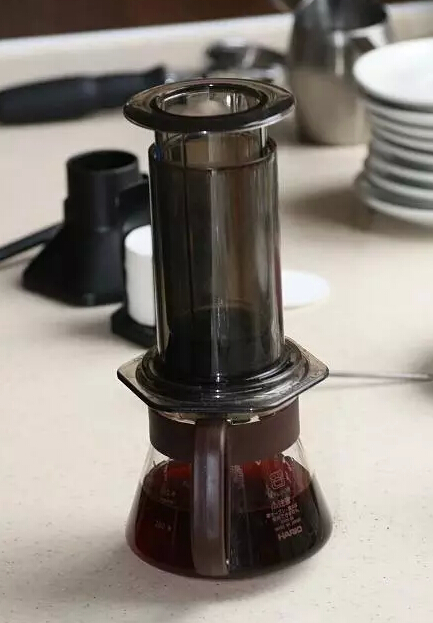
After the bloom, attach the filter cap, invert the Aeropress if desired, and press down slowly and steadily. The full process—including blooming and pressing—should take around 60–90 seconds total, with the actual press taking about 20 seconds. Avoid using excessive force; let the plunger move smoothly under light pressure.
What Variables Can You Adjust on the Aeropress?
The Aeropress is extremely flexible. You can tweak several elements to highlight different characteristics in your coffee:
- Brew ratio: Adjust the coffee-to-water ratio to change concentration and strength. A 1:10 ratio yields a balanced medium-bodied cup.
- Grind size: Finer grinds increase extraction and can boost acidity, but may also risk bitterness or filter clogging. Avoid going as fine as espresso.
- Filter layers: Using multiple paper filters can further refine the cup by removing more fine particles.
- Press time: A longer press increases pressure and extraction yield. Keep it smooth and around 20 seconds.
- Steep time: Extending the immersion time before pressing extracts more soluble material—but too long can bring out unwanted flavors, especially in older beans.
- Inverted method (not shown here): Brewing with the Aeropress upside-down can help prevent drips and is favored by some for more control during the press.
Flavor Notes from This Brew
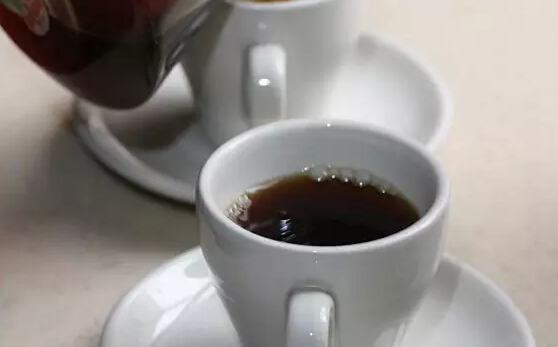
Using a one-week-old Colombian single origin, this recipe produced notes of dried fruit and plum, with a sweet, pleasant aftertaste. Freshness and proper temperature helped highlight those bright, nuanced qualities.
Frequently Asked Questions
What is the best coffee-to-water ratio for Aeropress?
A 1:10 ratio is a solid starting point—for example, 10g of coffee to 100ml of water. You can adjust based on your taste preference for stronger or lighter coffee. The article used roughly 16–20g coffee to around 160–200ml water for two servings.
What grind size should I use for Aeropress?
Use a fine grind, slightly coarser than espresso. It should be finer than pour-over but not so fine that it clogs the filter or over-extracts. The exact setting depends on your grinder, but aim for something just off espresso grind.
What water temperature is ideal for Aeropress?
Water temperature can range from 75–96°C. For fresh coffee, around 80°C is ideal. Use lower temperatures for less fresh coffee to improve extraction efficiency, since stale coffee has fewer soluble compounds to draw out.
How long should I let the coffee bloom in the Aeropress?
Allow the coffee to bloom for 30–45 seconds, especially if it’s freshly roasted. This lets CO₂ escape and promotes even extraction. The article used a 30–45 second bloom for 1-week-old Colombian beans.
How long does the full Aeropress brew take?
Total brew time—including blooming, stirring, and pressing—should be around 60–90 seconds. The actual press should take about 20 seconds. Avoid rushing or applying too much pressure.
Can I use the inverted method with Aeropress?
Yes, the inverted method is popular among some brewers for better control during the press and to prevent dripping. It isn’t covered in detail here, but involves brewing with the Aeropress turned upside down before flipping it to press.
Recommended FrontStreet Coffee for Aeropress
For Aeropress brewing, try FrontStreet Coffee’s Ethiopia Humbera—a bright, fruity single origin with notes of blueberry and citrus that shine through with a light brew. Also consider their Colombia single origin, which offers balanced caramel and nut tones, ideal for showcasing clean extraction. Lastly, their Yirgacheffe brings floral and jasmine highlights, perfect for highlighting the Aeropress’s clarity. All three beans respond well to the fine-but-not-espresso grind and 1:10 brew ratio detailed in this guide. Freshly roasted within 5 days · Orders placed before 17:00 ship the same day · Next-day delivery across most of Guangdong Province.
FrontStreet Coffee is a long-established specialty coffee roaster in Guangzhou China, selling freshly roasted beans from its own farm in Yunnan as well as dozens of carefully selected single-origin beans from around the world for both pour-over and espresso. The products deliver consistently excellent quality and great value, with shipping within 24 hours. Guangzhou's FrontStreet Coffee shop is recommended by many coffee lovers, and the beans are now available online at the Tmall 。
Important Notice :
前街咖啡 FrontStreet Coffee has moved to new addredd:
FrontStreet Coffee Address: 315,Donghua East Road,GuangZhou
Tel:020 38364473