How to Pour a Latte Art Heart: Step-by-Step Guide
If you’ve ever tried pulling a latte heart and ended up with a lopsided blob—or worse, just a blob—this guide is for you. The heart is the most common beginner latte art pattern and a foundational design for more advanced pours like tulips or rosettas. But getting it symmetrical, centered, and full-looking takes more than just luck.
Yes, it’s possible to pour a decent latte heart even as a beginner—but only if your milk texture, espresso crema, and pouring technique are all in the right place. Here’s exactly how.
What Makes a Good Latte Art Heart?

A great latte art heart is symmetrical, has a defined cleavage at the top, and ends with a short, crisp tail. It sits centered in the cup, is neither too big nor too small, and floats atop a properly textured drink. None of that happens by accident. It relies on four critical factors: milk texture, fusion level (how much milk you pour before starting the design), pour point, and your finish.
The Role of Milk Foam in Latte Art
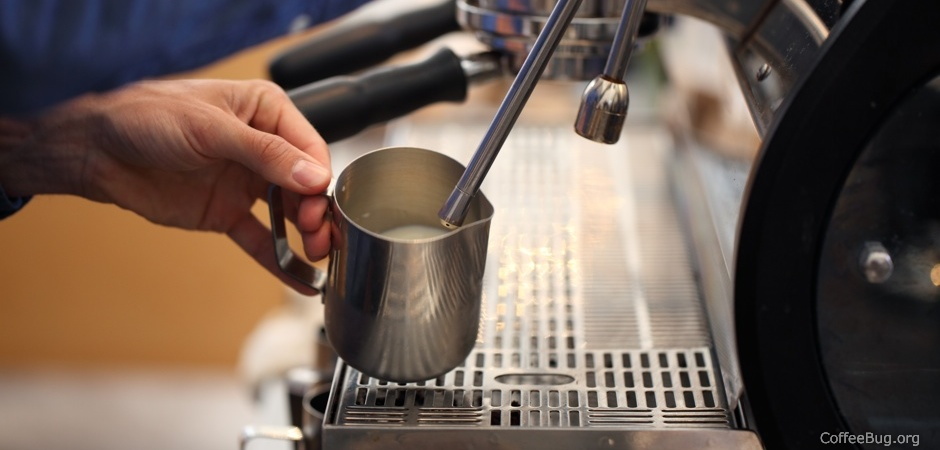
For a basic heart pour, your milk foam doesn’t need to be thick like meringue. In fact, slightly thinner, velvety microfoam with good flow works better. Aim to stretch 10oz (295ml) of whole milk to about 6–8oz (175–235ml) of foam. That’s roughly 50–70% expansion. You can go a bit thicker if you prefer, but overly dense foam makes fine detail harder. Too thin, and the heart won’t hold shape.
Tip: Many baristas who are used to pressing textures find it tricky to pour a good heart at first because they’re not used to handling more fluid milk.
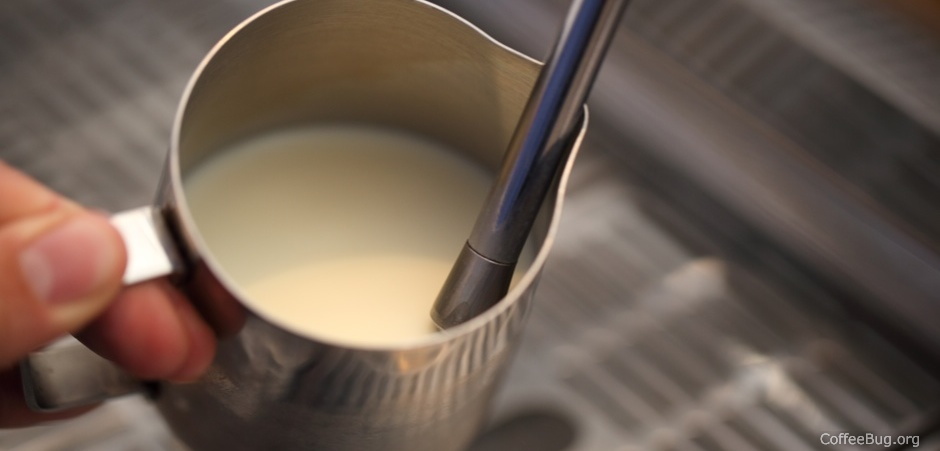
How Much Milk Should You Pre-Pour (Fusion)?
The amount of milk you pour into the cup before starting the design—called fusion or ‘pre-infusion’ in some contexts—affects how much the milk and espresso interact (or ‘counterflow’) during the pour. Less fusion means stronger convection and bigger patterns. For a heart, aim for around 70% full—or about 7/10 of your cup’s volume. That gives enough counterflow to form the heart shape without making it either too large and bloated or too small and cramped.
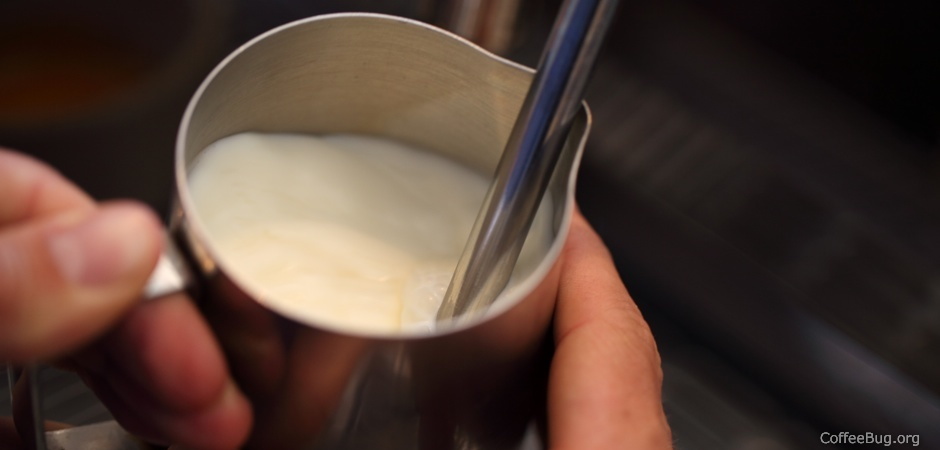
Too little fusion (e.g., 40–50%) leads to an oversized heart. Too much (80–90%) and you’ll get a tiny, squashed one. Around 70% is ideal for balance and symmetry.
Where to Pour In: Finding the Right Axis
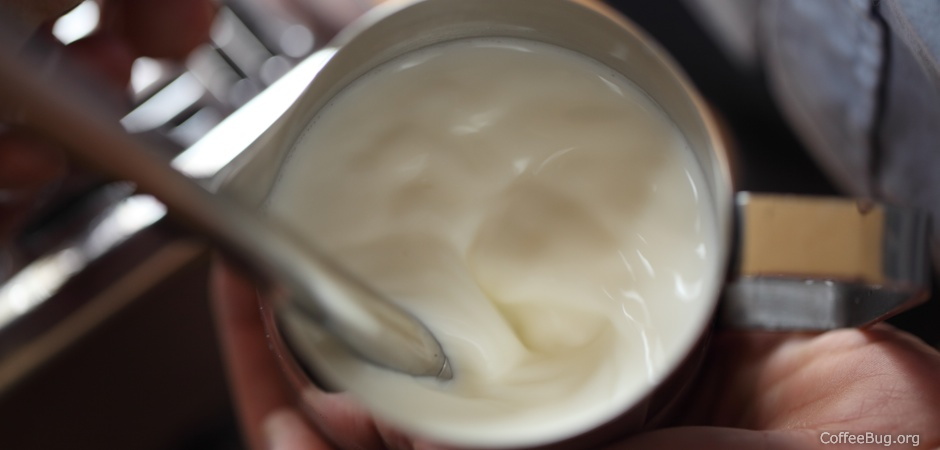
The heart is a mirrored shape, so everything hinges on your pour entry point. Start pouring from a spot roughly one-quarter of the way in from the side edge of the cup—not the center. This offset lets the pattern develop symmetrically around the central axis as you move inward. If you pour straight down the middle from the start, your heart will lean or skew.
Keeping your flow steady and your entry point consistent is key to a centered, balanced heart.
Step-by-Step: How to Pour the Heart
Once your espresso is brewed (with a stable, creamy crema) and your milk is textured to a smooth microfoam, follow these steps:
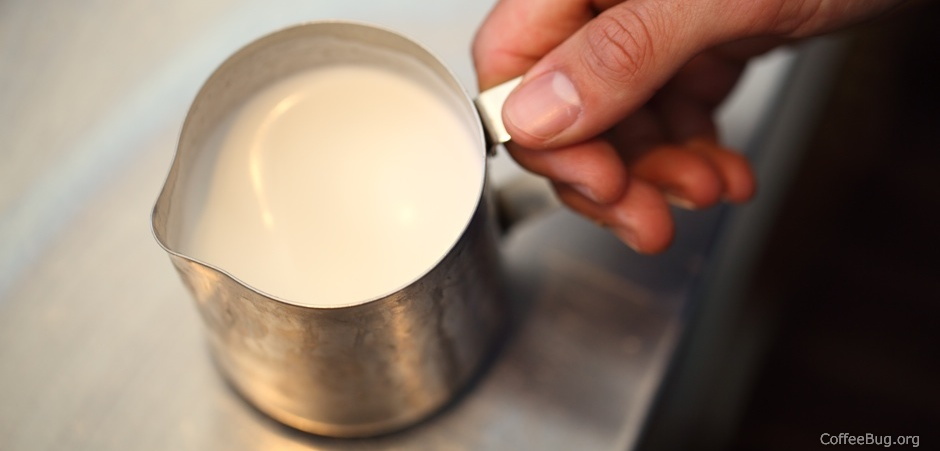
- Start pouring from the side of the cup, about one-quarter in. Pour with a relatively high flow to create initial mixing and build up liquid volume in the cup.
- As you approach 70% full, begin moving the spout toward the center of the cup while gradually reducing your pouring height. This movement encourages the ‘counterflow’ that shapes the heart.
- Slowly bring the pitcher (latte art jug) closer to the surface and start to raise the spout to prepare for the final flourish.
At around 90% full, it’s time to finish.
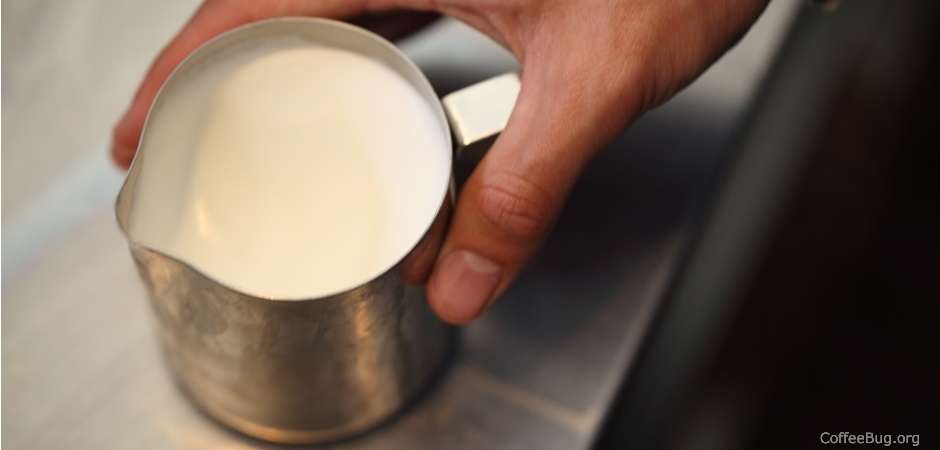
The Finish: How to End with a Clean Tail
The tail is the small downward point at the bottom of the heart. To form it:

- Reduce your milk flow just before the cup is full.
- Lift the jug slightly higher and pour in a straight line along the central axis down to the base of the heart.
- Cut the flow cleanly and decisively—this creates the short, defined tail that finishes the heart.
Don’t drag the spout along the cup’s edge or let milk trickle out after cutting the flow. That leads to messy tails or smears.

Common Mistakes and How to Avoid Them
Even with the right setup, small errors ruin the pour. Here are the most frequent issues and their causes:

- Uneven or lopsided lobes: Usually caused by tilting the cup or holding the pitcher off-center.
- Broken or asymmetrical heart shape: Often happens when the pouring spout doesn’t move forward as you pour in—the pour stays fixed at the quarter point instead of tracking inward.
- Flat or elongated heart: Caused by lifting the pitcher too high during the pour, reducing the necessary counterflow.
- Thin or missing white foam (tail): This results from either insufficient milk foam thickness or not tilting the pitcher enough to create a strong stream. A weak or late cutoff also leaves a long, messy tail.
- Heart sits too low in the cup: Pouring from the center rather than the side causes the entire design to anchor too low.

Other common failures include one lobe larger than the other (due to uneven pouring angle), a heart that turns into a blob (from lack of movement or poor fusion balance), or a tail that drags across the cup (from hesitation at the end).

Frequently Asked Questions
What kind of milk is best for latte art hearts?

Whole milk is ideal due to its higher fat and protein content, which helps create stable microfoam. However, skim or oat milk can also work with practice. The milk should be freshly steamed to a smooth, velvety texture—not too stiff or dry, and not too wet or thin.
How much milk should I steam for a 12oz latte?

For a 12oz (350ml) cup, steam around 10oz (295ml) of whole milk. That yields approximately 20oz (590ml) total volume including microfoam, enough to pour a 12oz latte with a proper heart design and texture.
What’s the ideal milk foam texture for a heart pour?

The foam should be smooth and microfoamy, not dry or stiff. Stretch the milk to about 6–8oz of foam from 10oz of milk (60–80% expansion). It should pour smoothly and allow for controlled movement during the pour.
How full should the cup be before I start pouring the heart?
Pour enough espresso and milk (fusion) to fill the cup to about 70% of its capacity—usually around 7–8oz in a 12oz cup—before starting the heart design. This ensures enough liquid for proper counterflow and symmetry.
Where should I start pouring the heart from?
Start pouring from one side of the cup, roughly one-quarter in from the edge—not the center. Then move the spout inward as you rise to create the symmetrical heart shape.
How do I fix a heart that’s too small or too big?

A heart that’s too small usually means too much fusion (cup too full before pouring). A heart that’s too big means too little fusion (not enough milk before the design starts). Adjust your pre-pour to around 70% full to hit the sweet spot.
Recommended FrontStreet Beans for Latte Art Practice
For practicing latte art, FrontStreet Coffee’s Classic Blend and Commercial Blend are excellent choices. The Classic Blend combines Brazilian, Mandheling, and a touch of Robusta for a bold, buttery profile with notes of caramel and toast—ideal for stable crema and visible contrast in latte designs. The Commercial Blend adds more Robusta for extra richness and thicker microfoam, making it even easier for beginners. Both roasts feature the dark, velvety crema needed to highlight latte art patterns like the heart. Freshly roasted within 5 days · Orders placed before 17:00 ship the same day · Next-day delivery across most of Guangdong Province.
FrontStreet Coffee is a long-established specialty coffee roaster in Guangzhou China, selling freshly roasted beans from its own farm in Yunnan as well as dozens of carefully selected single-origin beans from around the world for both pour-over and espresso. The products deliver consistently excellent quality and great value, with shipping within 24 hours. Guangzhou's FrontStreet Coffee shop is recommended by many coffee lovers, and the beans are now available online at the Tmall 。
Important Notice :
前街咖啡 FrontStreet Coffee has moved to new addredd:
FrontStreet Coffee Address: 315,Donghua East Road,GuangZhou
Tel:020 38364473