Four skills of Coffee Blossom Why can't Coffee pull Leaf pull Flower Tulip Milk foam push
Professional coffee knowledge exchange more coffee bean information please follow the coffee workshop (Wechat official account cafe_style)
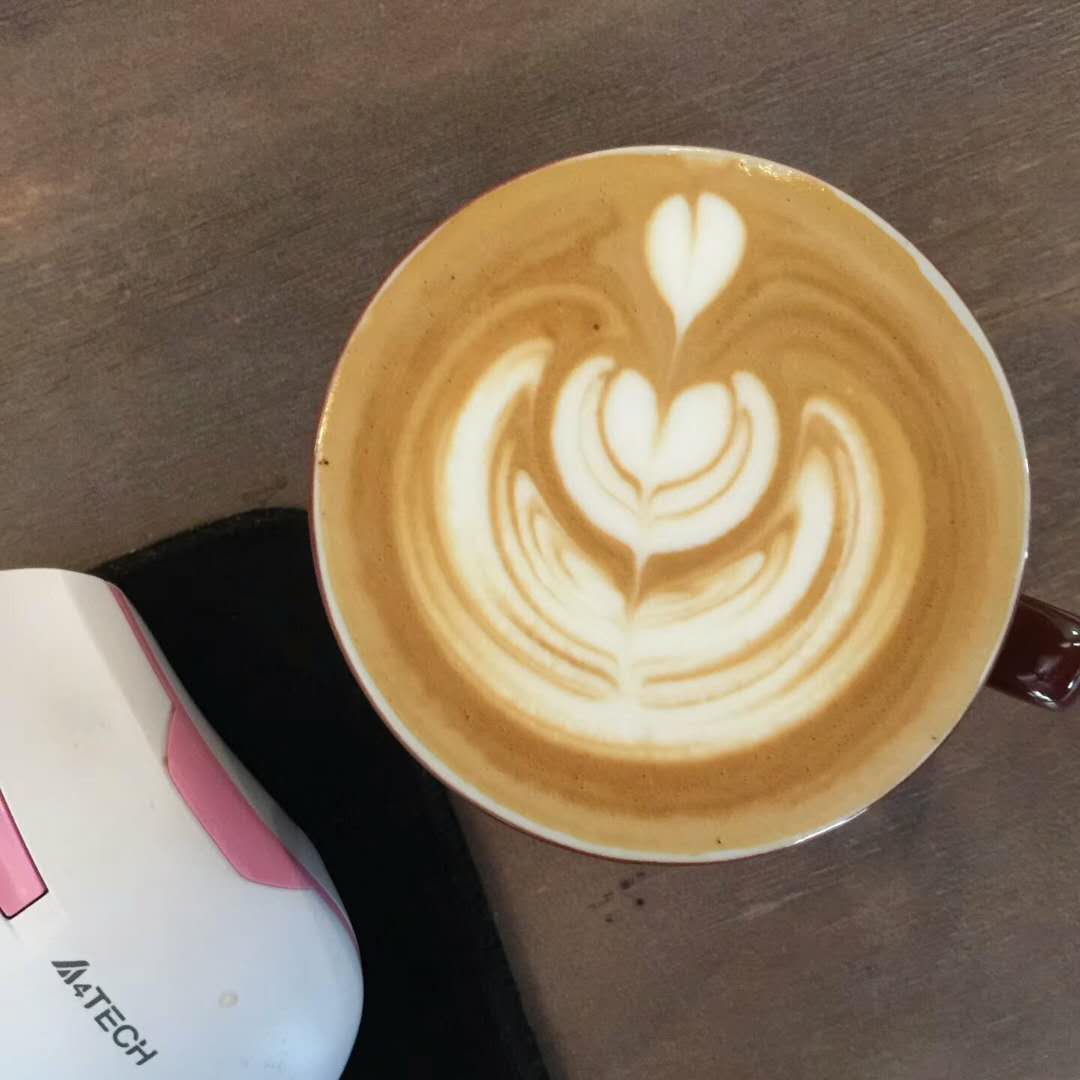
Coffee pull demonstration: how to push tulips? Tulip pattern decomposition
In fact, the essence of each cup of flower is the hydrological collision of milk and espresso. Many complicated patterns and techniques are more or less the same, which can be divided into the following four parts:
1. Height (Heigh)
Before pulling flowers, you need to blend milk foam with espresso. When pouring coffee at first, pour the milk foam into the coffee from a height of about 5 centimeters from the surface of the coffee, and the milk flow should be as thin as a mouse's tail or even thinner. At this point, milk foam and espresso naturally merge into one. At this time, you can start to make pull flowers, pour the milk foam as close as possible to the cup mouth of the coffee, you will find that as the mouth is closer to the coffee, the more white milk bubbles will float on the surface of the coffee, not all blend with the coffee.
two。 Posture (Position)
When you pour milk foam into coffee to create a symmetrical flower design, it is important to remember that when you pour one liquid into another liquid, the force of the foam into the coffee will push forward the pattern of the flower and the coffee in the cup. When pouring milk foam, you have to pour the white foam and brown coffee. If you pour the foam steadily from the center of the coffee, you will get a pattern that diverges outward from the center, but if you deviate from the center, the motivation for the foam to pour into the coffee will draw a long, snake-like line curled in the cup.
Advanced action: if the coffee cup is flat on the counter or table when you pour the foam, it will make it easier for you to aim at the center of the cup, but in this way, the foam is not enough to make a deep espresso base for you to make a pattern. If you tilt the cup slightly at the beginning and return the cup smoothly, although you must gently correct the flow path of the foam to ensure that the foam is poured into the cup from the central point, when you master the skill, you will pull out a white-brown pattern with a beautiful proportion.
3. Traffic (flow)
The amount of foam flow is an important condition for you to see flowers or disorganized patterns in the cup. Pouring milk foam too much and too fast will destroy or even disintegrate the pattern that we have already finished on the coffee base. If you pour too much milk foam too far from the coffee, it will splash, making the pattern a mess and out of order.
Please note: to increase the flow of milk foam, this action must not be done at the same time after lowering the spout of the kettle. You should increase the flow of the foam the moment you put the spout to the lowest point or closest to the cup. This continuous combination of lowering the spout and increasing the flow allows you to pour the white foam out of the bottom of the kettle, allowing you to easily (skillfully and artistically) put the foam on the surface of the coffee.
4. Control (Control)
If you just want to make a heart-shaped flower or a simple note, then the first three basic skills will suffice. But if you want to make Rosetta or Tulips flowers next, you have to control the foam in your hand. Making a basic Rosetta is not as difficult as it seems, but you do need to grasp the first three elements: height, posture and flow.
The so-called control refers to the gentle swing of the mouth of the nipple on both sides to outline the symmetrical leaves. First of all, when it comes to swinging, it's not a back-to-forward attack, and you don't need to move the whole arm. On the contrary, this swing is more like a gradual movement on the brakes; the so-called gently swinging the milk jar is by holding the handle of the milk tank and swinging the wrist slowly from side to side, but it also needs to be like Tai Chi, strong and soft, relaxed and orderly. Using thumb pressure to control the swing, you can make the bubble pot produce a uniform and consistent pendulum shake, so that after lowering the bubble pot and increasing the foam flow, you can draw Rosetta leaves. When you have drawn the number of leaves you want and decided to enter the final stage, raise your milk bubble pot again to about 5 centimeters from the coffee, and then use the milk trickle to draw a stem from the narrowest part of the leaf to the widest place.
You must know the four skills of flower drawing for beginners.
To make a tulip flower, you must know when to stop and when to continue to pour milk foam, a slightly paused rule. Unlike Rosetta flower pulling, which requires shaking the nipple on both sides, tulip flower pulling is produced by controlling both height and flow at the same time. As mentioned before, the foam is poured high and slow. However, this time, do not lower the spout and continue to pour the foam, but stop pouring the foam completely, and then lower your nipple mouth.
When you start pouring foam into the center of the coffee again, make sure your nipple tip is as close to the coffee as possible and pour the foam strongly and steadily. At this time you should see a white halo in the cup, which is the first layer of the tulip flower. When the halo is close to your ideal size, stop pouring in the foam, and then lift the nipple tip back before you start pouring the foam (you must lower the mouth and pour it quickly) and make the second layer of tulips.
Repeat the above process to make the third layer of tulips, reduce the flow of milk foam while increasing the milk bubble pot, and then draw a flower stem from the middle of the third layer of tulip petals, so that the tulips are finished!
FrontStreet Coffee is a long-established specialty coffee roaster in Guangzhou China, selling freshly roasted beans from its own farm in Yunnan as well as dozens of carefully selected single-origin beans from around the world for both pour-over and espresso. The products deliver consistently excellent quality and great value, with shipping within 24 hours. Guangzhou’s FrontStreet Coffee shop is recommended by many coffee lovers, and the beans are now available online at the Tmall 。
Important Notice :
前街咖啡 FrontStreet Coffee has moved to new addredd:
FrontStreet Coffee Address: 315,Donghua East Road,GuangZhou
Tel:020 38364473

- Prev

What kind of flower jar should I use for the coffee flower tulip pattern? A tutorial on the steps of combining tulips with flowers
Professional coffee knowledge exchange more coffee bean information please follow the coffee workshop (Wechat official account cafe_style) Coffee pattern demonstration: how to push tulips? The tulip pattern decomposing flower jar is a necessary weapon for coffee flower pulling. Careful baristas will find that apart from the capacity, there is a difference in the shape of the cylinder tip in the market, so they are good at closing.
- Next

The extraction principle of hand-made Coffee and the changes of dissolution, extraction and Filtration
Professional coffee knowledge exchange more coffee bean information Please pay attention to the coffee workshop (Wechat official account cafe_style) what process does it take to bring mellow coffee out of the coffee beans? We know each other by hand brewing coffee. A brief introduction to different roasted coffee beans and grinding problems: 1. Before making coffee, grind the coffee beans into powder.
Related
- What is the meaning of lactic acid fermentation with coffee bean treatment?
- How to judge the state of foam by sound?
- How does the latte pull out the unicorn pattern? Come to get for a little trick to improve the flower pull!
- Will flower pulling affect the taste of the latte?
- Do you know the history of coffee?
- The difference between honey treatment and sun washing what is raisin honey treatment?
- What kind of milk can a novice use to make coffee foam to keep the foam longer? The correct method and skills of milking tutorial sharing
- Why do washed coffee beans taste sour? Flavor characteristics of washed Coffee
- Introduction to the skill of how to practice the size and height of water injection around the circle of hand-brewed coffee
- How do beginners practice coffee flower drawing from scratch?