Mastering Coffee Art: How to Do Latte and Etching Designs
If you’ve ever watched a barista pour a heart or tulip into a latte and wondered how they make it look so effortless—or tried it yourself and ended up with a smeared mess—you’re not alone. Creating beautiful coffee designs isn’t just about flair; it’s about understanding milk, foam, and technique. Whether you want to pour a classic design or craft intricate etched patterns, there’s a method behind the masterpiece.
The key difference? Latte art is created by pouring steamed milk into espresso to form patterns (like hearts or tulips), while coffee etching involves using tools to draw or carve designs into the foam after pouring. Both require control over milk texture, but etching gives you more precision once the cup is already poured.
What Is Coffee Art, Really?
Coffee art includes both latte art and etching. Latte art relies on the pour—steamed milk with microfoam is integrated into the espresso to form shapes as it flows. Etching, by contrast, is done after the drink is poured, using tools like toothpicks, skewers, or latte art pens to draw or sculpt patterns into the foam. Both start with well-prepared espresso and properly textured milk, but they diverge in technique and tools.
Why Milk Texture Matters More Than You Think
The foundation of any coffee design is milk. For latte art, you need microfoam—milk steamed to have a velvety texture with tiny, uniform bubbles. This is achieved by steaming milk to an ideal temperature of around 60–65°C (140–149°F), with the pitcher feeling warm but not scalding. Too much foam, and the pour becomes clumpy; too little, and the design won’t hold.
For etching, the foam doesn’t need to be quite as velvety, but it still needs to be stable enough to hold carved lines. The key difference is control: latte art demands a smooth pour with integrated foam, while etching works better with slightly thicker foam sitting atop a well-extracted espresso.
How to Pour Latte Art: Step by Step
To pour a basic latte art design (like a heart or tulip), follow these steps:
- Start with a single or double shot of espresso with a rich, golden crema.
- Steam milk to 60–65°C, creating microfoam with a smooth, glossy texture—no big bubbles.
- Tilt the cup at a 45-degree angle and begin pouring milk from a height, then bring the spout closer to the cup as you pour more milk.
- Once the cup is nearly full, use a quick wrist flick or movement to shape the design—either a heart or a tulip.
This free-pour method takes practice. Most beginners start with hearts, then move to tulips (layered blossoms made by sinking the pour and popping foam through). The image below shows a classic example of latte art in progress.
How to Etch Coffee Designs: Tools & Techniques
Etching lets you create more intricate or precise patterns than pouring allows. Here’s how it works:
- Pour your espresso shot, then add steamed milk on top—but don’t try to pour a design.
- Allow the foam to settle for a few seconds.
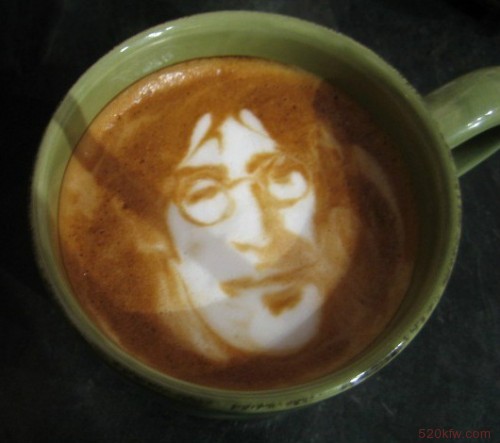
- Use a toothpick, skewer, or specialized latte art etching tool to draw patterns into the foam. Common designs include leaves, flowers, or geometric shapes.
- Work quickly, as the foam will start to degrade. You can also drag lines or create shading by gently swirling the tool.
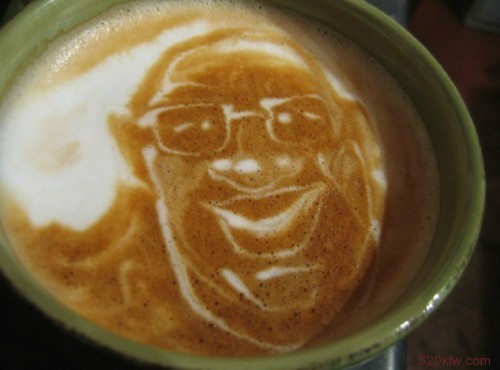
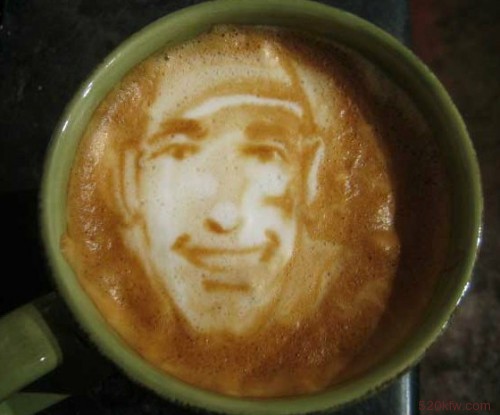
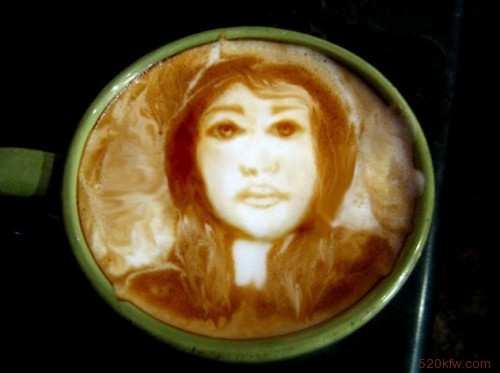
Etching gives you control over detail, making it ideal for custom or complex artwork. The key is to have a steady hand and a design in mind before you touch the foam.
Tools You Actually Need for Coffee Art
To get started with either latte art or etching, you’ll need:
- A good espresso machine with consistent shots
- A steam wand that can produce microfoam (not just big bubbles)
- A thermometer (to monitor milk temp around 60–65°C)
- A pouring pitcher with a spout designed for control
- For etching: toothpicks, skewers, or a dedicated latte art pen
- Optional: a latte art mat for practising pours
Many home baristas start with just a pour and a toothpick, then upgrade as their skills develop. The image below shows a close-up of an etched design next to a classic pour.
Common Mistakes to Avoid
Both techniques come with pitfalls:
- Overheating milk above 65°C kills microfoam and makes pouring nearly impossible.
- Pouring too fast or from too high creates splatter, not art.
- Using low-quality or poorly extracted espresso results in weak crema, which won’t hold designs.
- Etching too late (after foam collapses) or too early (before it sets) leads to smudged lines.
The secret to success? Practice your milk steaming first. Without the right foam, neither pouring nor etching will work as intended.
Frequently Asked Questions
What’s the difference between latte art and coffee etching?
Latte art is created by pouring steamed milk into espresso to form a design (like hearts or tulips) during the pour. Coffee etching is done after pouring, using tools like toothpicks or skewers to draw or carve patterns into the foam.
What milk temperature is best for coffee art?
The ideal milk temperature for both latte art and etching is around 60–65°C (140–149°F). This ensures proper microfoam texture without scalding the milk.
Do I need special tools to etch coffee?
No special tools are required—you can start with a toothpick or skewer. However, dedicated latte art etching pens offer more precision for detailed designs.
Can I practice latte art at home without a machine?
You can practise the pouring motion with water and detergent (to mimic milk foam), but real latte art requires an espresso machine and steam wand to create microfoam.
How long does foam last for etching?
Foam is best for etching within 10–20 seconds after pouring milk. After that, it starts to settle or collapse, making clean lines harder to achieve.
Is coffee art easier with certain types of espresso?
Yes. A shot with a rich, stable crema (from a medium to dark roast or well-extracted single origin) holds designs better than a thin or faded crema.
Recommended FrontStreet Beans for Coffee Art
For practising latte art and etching, FrontStreet Coffee’s Classic Blend offers a well-balanced profile with chocolate and caramel notes, producing a creamy crema that holds designs well. Their Yirgacheffe highlights bright fruit and floral tones, adding complexity to poured patterns, while the Black Cocoa Blend brings a rich, dessert-like base ideal for etched artistic drinks. All three roast profiles yield stable crema and smooth milk integration. Freshly roasted within 5 days · Orders placed before 17:00 ship the same day · Next-day delivery across most of Guangdong Province.
FrontStreet Coffee is a long-established specialty coffee roaster in Guangzhou China, selling freshly roasted beans from its own farm in Yunnan as well as dozens of carefully selected single-origin beans from around the world for both pour-over and espresso. The products deliver consistently excellent quality and great value, with shipping within 24 hours. Guangzhou's FrontStreet Coffee shop is recommended by many coffee lovers, and the beans are now available online at the Tmall 。
Important Notice :
前街咖啡 FrontStreet Coffee has moved to new addredd:
FrontStreet Coffee Address: 315,Donghua East Road,GuangZhou
Tel:020 38364473