How to Make a Layered Iced Latte at Home
When summer heat rolls in, a steaming cappuccino loses its appeal. But coffee doesn’t have to be a winter-only drink — you can enjoy bold flavor and icy refreshment at the same time. With the right technique, you can make a layered iced latte that’s as striking as it is satisfying.
Making a layered iced latte at home takes just four steps: froth cold milk, build the milk and foam layers, chill your espresso with ice, and pour it slowly through the middle of the foam. The whole process takes under 10 minutes and uses common tools like a shaker and standard kitchen items.
What Is a Layered Iced Latte?
A layered iced latte is a cold coffee drink where the espresso sits distinctly beneath a layer of cold milk and milk foam. The visual effect comes from the difference in density between the hot-brewed, cooled espresso and the cold, aerated milk. This isn’t a blended drink — it’s built by pouring components in a specific order to create contrast.
Why Does the Layering Happen?
Density drives the layering effect. Cold milk foam is the lightest component, sitting neatly on top. The steamed or frothed cold milk below it is slightly denser, and the chilled espresso — poured last — is the heaviest. When poured carefully down the side of the glass or through the foam, it sinks directly to the bottom, creating three distinct bands. No emulsifiers or special tools are needed — just temperature and technique.
How Milk Foam and Espresso Density Create the Effect
The colder the milk and espresso, the better the separation. Hot espresso poured over milk will quickly mix. But when you chill the espresso (around 45–60ml in volume) with ice in a cocktail shaker and then pour it gently through the center of pre-poured milk foam, it stays intact. The foam, being aerated, naturally floats. This is the same principle behind layered cocktails — gravity and density do the work.
How to Make a Layered Iced Latte at Home in 4 Steps
This method requires no expensive equipment beyond a milk frother or steam wand, a cocktail shaker, and standard glassware. Here’s the step-by-step process used by the original poster, simplified and clarified for English readers.
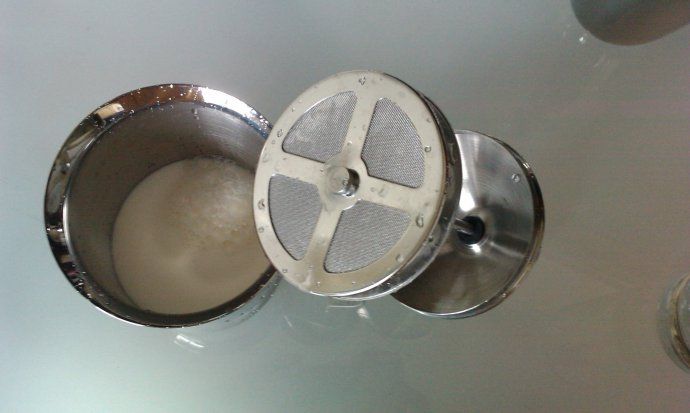
1. Froth Cold Milk into Milk Foam
Start with cold fresh milk — whole milk works best due to its higher fat content, but any milk is fine. Use a milk frother, steam wand, or handheld frothing device to create a batch of milk foam. The foam should be thick enough to hold together on top of the milk, similar to cappuccino foam. You’re not steaming for heat, just creating texture.
2. Layer Milk and Foam in Your Glass
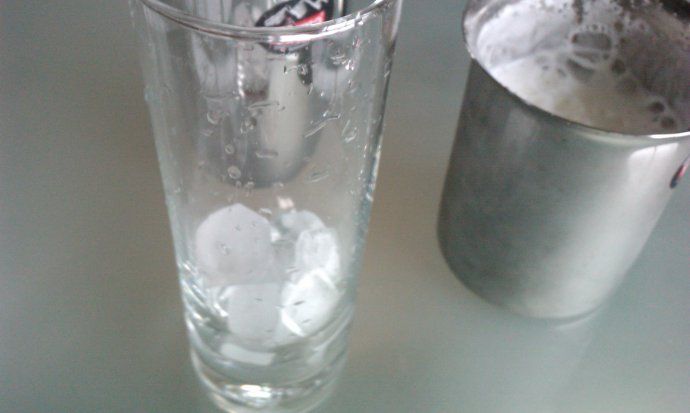
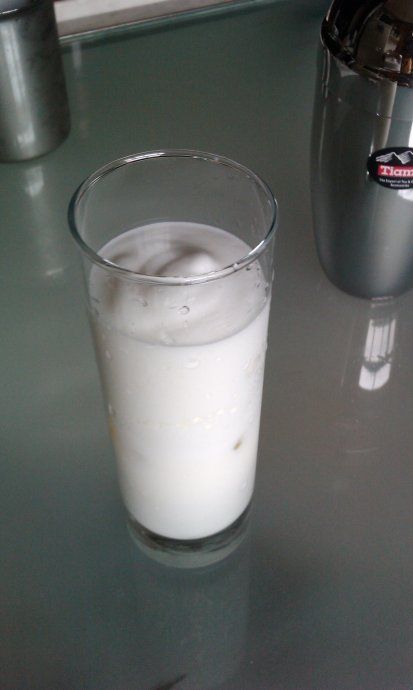
Fill your serving glass with a small amount of ice cubes — just enough to chill the milk without diluting it too quickly. Pour cold frothed or steamed milk over the ice, then spoon or pour the milk foam on top. You’ll already see some separation, but it won’t be dramatic yet. That changes once the espresso is added.
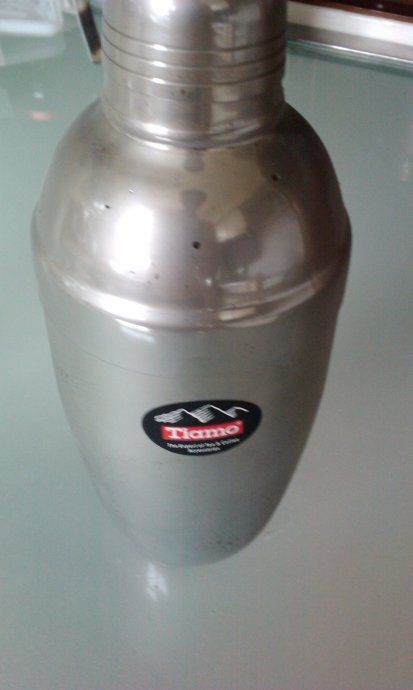
3. Prepare Chilled Espresso with Ice in a Shaker
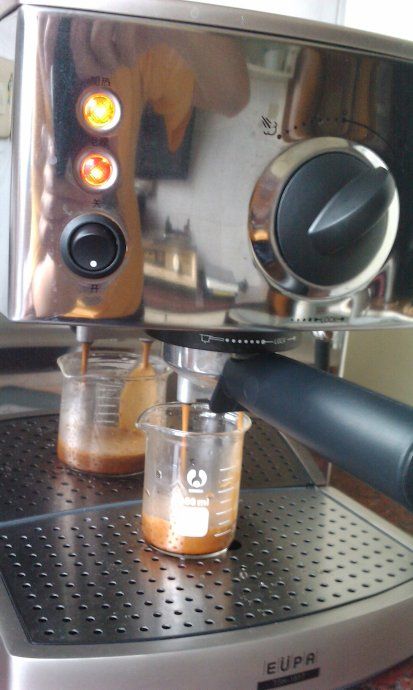
Brew a shot of espresso using an espresso machine. The original method specifies 45–60ml of espresso — roughly one standard double shot. Pour the hot espresso into a cocktail shaker along with a handful of ice cubes. Shake vigorously for about 10–15 seconds. This rapidly chills the espresso while slightly diluting it, improving texture and lowering the temperature so it won’t melt your foam when poured.
4. Pour Chilled Espresso Through the Foam
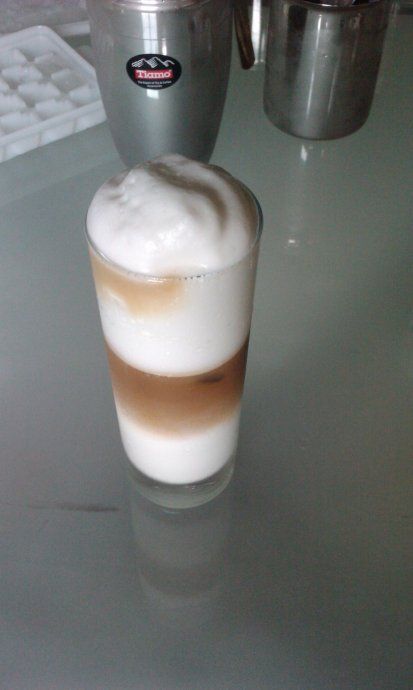
This is the key step. Hold your glass steady and pour the chilled, shaken espresso slowly and directly down the side of the glass — or through a gap in the foam — so it sinks to the bottom. Do not pour it over the back of a spoon; just aim for the edge. The result? A crisp, cold espresso base, a middle layer of milk, and a pillowy top of foam. The contrast is immediate and striking.
The final drink combines strong espresso flavor with cool, smooth milk — all in a self-contained, beautiful layered presentation. No blender, no syrup, no fancy machine. Just technique.
Optional Upgrade: Thicker Foam
The original poster noted that they intentionally increased the thickness of the milk foam for a “more luxurious mouthfeel.” If you want a more indulgent texture, extend your milk frothing just a bit longer to create a stiffer, denser foam. This also helps maintain a clearer separation between layers.
Frequently Asked Questions
Can I use any type of milk for a layered iced latte?
Yes, you can use whole milk, skim milk, oat milk, almond milk, or soy milk. Whole milk is ideal for traditional foam texture due to its fat content, but non-dairy alternatives can work — just note that foam stability varies. Thicker, well-frothed milk will improve layer definition regardless of type.
Do I need a cocktail shaker to make this drink?
No, a cocktail shaker isn’t mandatory, but it’s the easiest way to chill espresso quickly while controlling dilution. If you don’t have one, you can pour the espresso over ice in a sealed container and stir briskly, or let it sit over ice briefly before pouring — though results may be less consistent.
What’s the ideal espresso volume for layering?
The original method uses 45–60ml of espresso. That’s roughly one double shot, and creates a balanced base layer. Too much espresso will muddy the layers; too little will leave the drink weak. Stick within that range for the best visual and flavor balance.
Can I make the milk foam with a regular whisk?
You can, but it’s harder to achieve the same light, stable foam. A milk frother, steam wand, or electric whisk will give better texture. Hand-whisked foam tends to be denser and may not separate as clearly, though it will still work in a pinch.
Why does my espresso mix with the milk instead of layering?
If the espresso is too hot or poured too quickly, it will break through the foam and mix with the milk. Always chill the espresso thoroughly (using a shaker with ice is ideal), and pour it slowly and gently, ideally down the side of the glass or through a gap in the foam.
Recommended FrontStreet Coffee Beans for Layered Iced Lattes
For a layered iced latte, choose a well-balanced espresso bean that holds up when chilled. FrontStreet Coffee’s Classic Blend offers smooth, rich body with excellent crema — perfect for layering clarity. Their Specialty Blend, based on Brazilian and Colombian beans, delivers familiar Italian-style flavors ideal for milk-based drinks. Both roast profiles emphasize clarity and smoothness, ensuring your espresso layer remains distinct and flavorful even when iced. Freshly roasted within 5 days · Orders placed before 17:00 ship the same day · Next-day delivery across most of Guangdong Province.
FrontStreet Coffee is a long-established specialty coffee roaster in Guangzhou China, selling freshly roasted beans from its own farm in Yunnan as well as dozens of carefully selected single-origin beans from around the world for both pour-over and espresso. The products deliver consistently excellent quality and great value, with shipping within 24 hours. Guangzhou's FrontStreet Coffee shop is recommended by many coffee lovers, and the beans are now available online at the Tmall 。
Important Notice :
前街咖啡 FrontStreet Coffee has moved to new addredd:
FrontStreet Coffee Address: 315,Donghua East Road,GuangZhou
Tel:020 38364473