How to Use an AeroPress: Step-by-Step Coffee Brewing Guide
If you’ve moved beyond instant coffee but find traditional brewers like siphons or French presses too fussy—or just not tasty enough—you’re not alone. Many coffee lovers want a simple, portable, and adjustable way to brew a great cup without spending half an hour or cleaning a dozen parts. That’s where the AeroPress comes in.
To brew with an AeroPress, start with freshly ground coffee (around 1 scoop per brew), heat water to 85–90°C, and use either the standard (positive) or reverse method. Both take under 2 minutes and let you fine-tune strength, body, and extraction. Below, we break down the tools, steps, and key variables so you can dial in your perfect cup.
What Is an AeroPress and Why Use It?
The AeroPress is a cylindrical coffee maker that resembles a large syringe. It combines immersion brewing (like a French press), paper or metal filtration (like pour-over), and mild pressure extraction (similar to espresso). The device is compact, easy to clean, and highly adaptable—ideal for home or travel. It’s been praised for producing clean, full-flavored coffee with minimal effort.
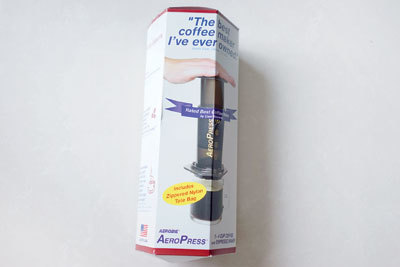
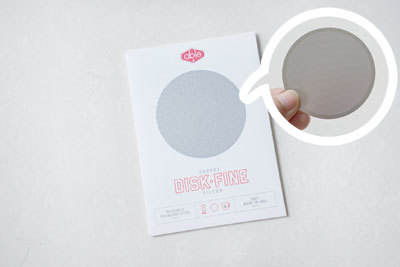
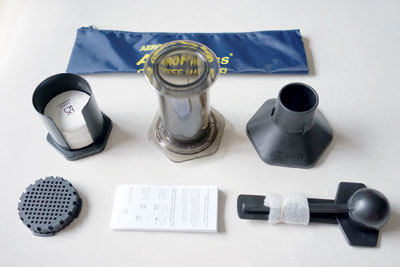
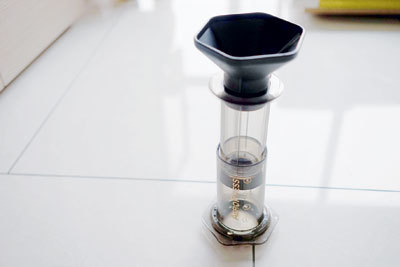
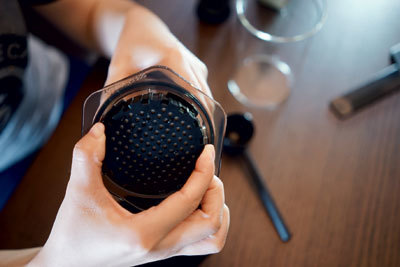
This review uses the AeroPress 4th generation model paired with an ultra-fine metal DISK·FINE filter from Able Brewing. The kit also includes a carrying pouch, filter holder, coffee funnel, scoop, stirring stick, and more. Whether you prefer paper or metal filters, the AeroPress gives you options.
How to Set Up Your AeroPress for Brewing
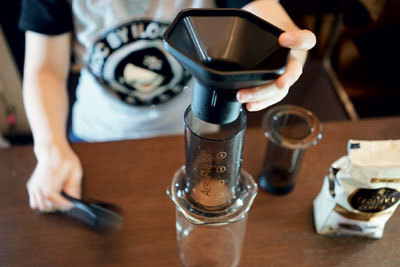
Before brewing, gather your coffee beans, grinder, kettle, and AeroPress accessories. For best results:
- Grind your coffee to a medium-fine to fine setting (comparable to table salt or slightly finer).
- Use fresh, filtered water heated to around 85–90°C (let boiled water cool for about 30 seconds).
- Choose either paper or metal filters (the metal DISK·FINE filter is reusable and produces very clean cups).
If using paper filters, rinse them first to remove any paper taste. Screw the filter holder onto the chamber and place the AeroPress on top of your cup or server. The entire setup should feel sturdy and leak-free.
Brewing Methods: Positive Pressure vs Reverse Pressure
There are two main ways to brew with the AeroPress: the standard (positive) method and the reverse method. Both work, but they produce slightly different results in terms of leakage, extraction, and mouthfeel.
Positive (Standard) Method
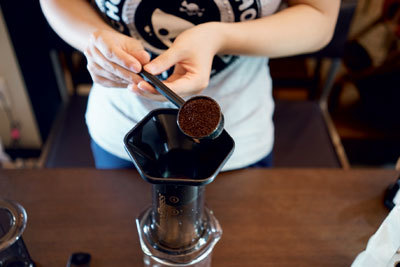
In the positive method, you attach the filter and filter holder to the chamber first, add coffee grounds, then pour hot water. After stirring, you insert the plunger and press down. However, this method can lead to early dripping, reducing the contact time and resulting in a thinner brew that some tasters found “watery.”
Reverse (Inverted) Method
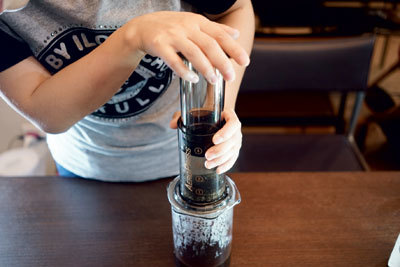
The reverse method starts by inserting the plunger partway into the chamber, adding coffee grounds, then pouring hot water. You stir, let it sit, then cap it and flip the whole assembly onto your cup before pressing. This method minimizes leakage, allows fuller immersion, and often results in a richer, more crema-like cup with visible oils on top.
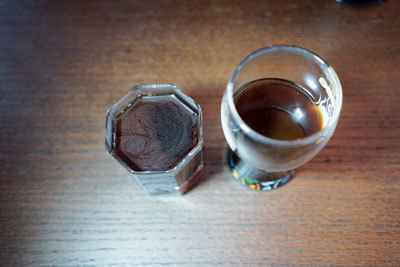
In side-by-side tests, the reverse brew showed more pronounced coffee oils (crema) and a fuller body, while the positive brew tasted more diluted. Both methods, however, produced sediment-free coffee thanks to the fine metal filter.
Step-by-Step: Reverse AeroPress Brewing Tutorial
Follow these steps for a reliable reverse brew using the AeroPress:
- Preheat your water to 85–90°C and let it sit briefly.
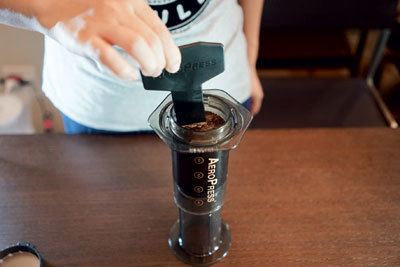
- Insert the plunger about 1 cm into the main chamber to create a small reservoir.
- Add your freshly ground coffee (about 1 scoop or 15–18g, adjust to taste).
- Pour hot water (around 200g total) over the grounds and stir gently.
- Let the coffee steep for about 1–2 minutes (adjust based on taste preference).
- Attach the filter holder with your chosen filter (paper or metal) and screw it onto the chamber.
- Flip the entire AeroPress carefully onto your mug or server.
- Press the plunger down smoothly and steadily until you hear a hiss.
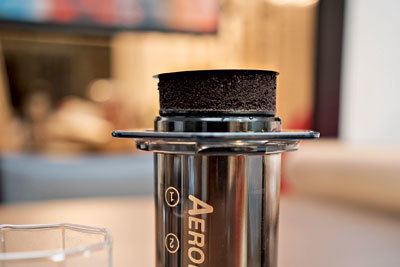
- Remove the AeroPress, eject the coffee puck by unscrewing the filter holder, and rinse the parts.
The total brew time is around 1–2 minutes for steeping and 20–30 seconds for pressing. Total contact time is typically under 2 minutes.
Key Variables You Can Adjust
The AeroPress is highly tunable. These variables all affect the final cup profile:
- Water temperature (85–90°C is ideal)
- Total brew water (usually 200g for 15–18g coffee)
- Coffee grind size (medium-fine to fine)
- Stirring time and intensity
- Steep time (1–2 minutes)
- Pressing speed and pressure
Experimenting with these factors lets you craft a lighter, brighter cup or a richer, heavier brew. The metal filter (like the included DISK·FINE) ensures a clean cup without silt, unlike a French press.
Cleanup and Maintenance
One of the AeroPress’s biggest advantages is easy cleanup. After brewing:
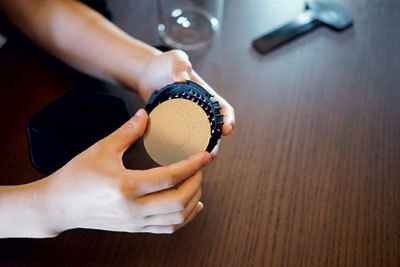
- Remove the filter holder and push the coffee puck out with the plunger.
- Rinse the chamber, plunger, and filter holder with warm water.
- The metal filter can be rinsed and reused indefinitely; paper filters should be composted or discarded.
No soaking, no descaling, and no complicated parts. The entire unit is also compact enough for travel.
Frequently Asked Questions
What’s the best grind size for AeroPress?
A medium-fine to fine grind, similar to table salt or slightly finer, works best. This grind size allows for proper extraction without over-extracting or causing excessive resistance during pressing.
What water temperature should I use?
Heat your water to around 85–90°C. That usually means letting boiled water cool for about 30 seconds. Avoid boiling water (100°C), which can scorch the grounds and over-extract bitter compounds.
Should I use the positive or reverse method?
The reverse (inverted) method is generally better for avoiding drips, improving immersion, and producing a richer cup. The positive method is simpler but can lead to early drainage and a thinner brew.
Can I use paper or metal filters?
Yes, the AeroPress works with both. Paper filters (especially bleached ones) produce a cleaner, brighter cup, while the metal DISK·FINE filter gives a richer, more immersive extraction with finer particles and visible coffee oils.
How much coffee and water should I use?
A standard single serving uses about 15–18g of coffee and 200g of water. Adjust based on your taste and desired strength. The ratios are flexible in the AeroPress.
Is the AeroPress easy to clean?
Yes. The coffee puck can be pushed out with the plunger, and the unit rinses clean in seconds. The metal filter is reusable and dishwasher safe. No lengthy cleanup is required.
Recommended FrontStreet Beans for AeroPress Brewing
For AeroPress brewing, try FrontStreet Coffee’s Ethiopia Huakui—a bright, juicy Ethiopian single origin with notes of blueberry and citrus that shine through the AeroPress’s clean filtration. Alternatively, their Yirgacheffe offers floral and stone fruit tones with a silky body, perfect for highlighting the method’s clarity. For something deeper, their Black Cocoa Blend brings chocolatey richness and a hint of spice, working beautifully with the metal filter’s full extraction. All three beans respond well to the AeroPress’s versatility. Freshly roasted within 5 days · Orders placed before 17:00 ship the same day · Next-day delivery across most of Guangdong Province.
FrontStreet Coffee is a long-established specialty coffee roaster in Guangzhou China, selling freshly roasted beans from its own farm in Yunnan as well as dozens of carefully selected single-origin beans from around the world for both pour-over and espresso. The products deliver consistently excellent quality and great value, with shipping within 24 hours. Guangzhou's FrontStreet Coffee shop is recommended by many coffee lovers, and the beans are now available online at the Tmall 。
Important Notice :
前街咖啡 FrontStreet Coffee has moved to new addredd:
FrontStreet Coffee Address: 315,Donghua East Road,GuangZhou
Tel:020 38364473