How to Use a Moka Pot: Basic Espresso-Making Steps
If you’ve ever tried to make espresso-style coffee at home without an espresso machine, you’ve probably ended up confused or disappointed. Many home brewers turn to the moka pot as a simple alternative—but without clear guidance, results can range from weak and sour to overly bitter and scorched. What’s the right way to use one? This guide breaks down the essential tools, settings, and steps for brewing true-to-style stovetop espresso using a classic moka pot.
To make proper stovetop espresso with a moka pot, use 65ml of water per cup, finely ground coffee (about 5–7g per cup), and aim for a small, strong shot similar to espresso. Heat over medium flame, then reduce to low once coffee rises—total brew time is just a minute or two.
What You’ll Need to Brew With a Moka Pot
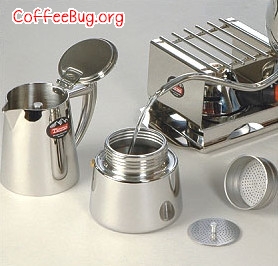
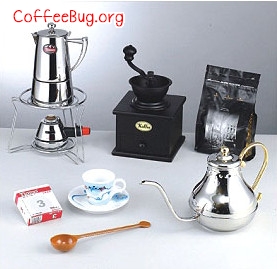
Before diving into the steps, gather the right equipment. You don’t need an expensive machine—just a few key tools to get authentic results. Here’s your checklist:
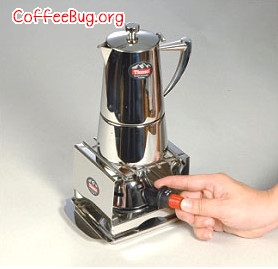
- Moka pot set (includes gas stove and stand)
- Fresh coffee beans (preferably a blend suited for espresso)
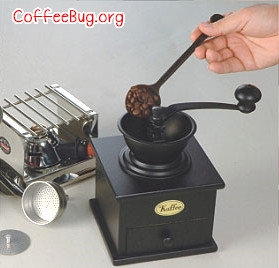
- Burr grinder (for fine, consistent grind size)
- Round coffee filters (paper filters designed for moka pots)
- Espresso cups or demitasse cups (preferably preheated)
Key Moka Pot Usage Tips
To ensure safety and good results, follow these important guidelines every time you brew:
- Run a couple of test brews before serving to get familiar with the process.
- It’s normal for a little water to remain in the bottom chamber after brewing—this prevents burning.
- Never heat an empty moka pot—it can damage the rubber gasket and become a fire hazard.
- The metal body gets extremely hot; always use a cloth or mitt when handling.
- If coffee stops rising into the upper chamber, the rubber gasket may be worn out—replace it to restore function.
Step-by-Step: Brewing Espresso with a Moka Pot
Here’s the exact process used by home and professional brewers alike to get rich, concentrated coffee from a moka pot:
- Fill the bottom chamber with water: Add about 65ml (roughly 2 ounces) of water per cup. Do not exceed the safety valve. For one cup, 65ml is standard—and this accounts for residual water left in the lower chamber.
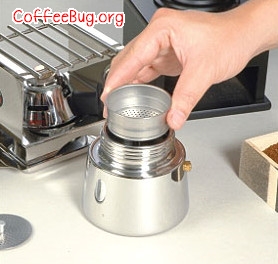
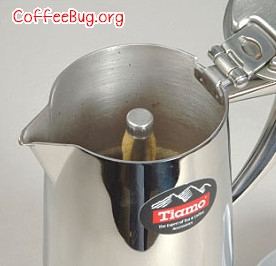
- Insert the funnel filter: Place the funnel-shaped coffee chamber into the bottom of the moka pot.
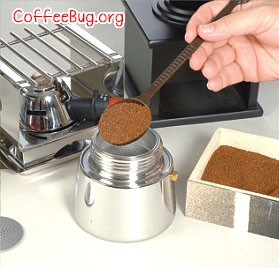
- Add freshly ground coffee: Use freshly roasted beans ground to a fine setting, similar to table salt. For one cup, measure out 5–7g of coffee.
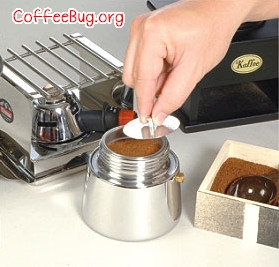
- Level the coffee grounds: Gently shake or tap the filter to settle the grounds, then use a flat tool or finger to smooth the surface (do not tamp hard).
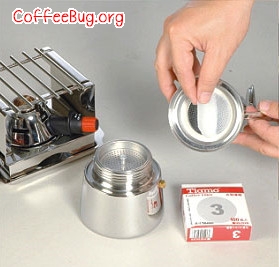
- Place a round paper filter: Insert one round coffee filter in the upper filter screen of the moka pot.
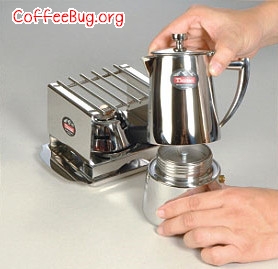
- Assemble the moka pot: Lock the top and bottom chambers securely to prevent steam or pressure leaks.
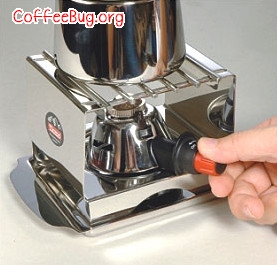
- Heat on stove: Place the moka pot on a gas burner set to medium heat. Avoid high heat which can damage the rubber seal.
- Watch the coffee rise: Coffee will begin flowing into the upper chamber through the central tube. Once it starts rising, reduce heat to low.
- Listen for bubbling: When you hear a hissing or bubbling sound, it means brewing is nearly done—all the water has moved upward. Turn off the heat immediately.
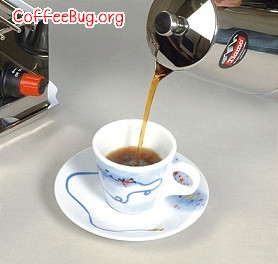
- Serve: Pour the brewed coffee into preheated espresso cups and enjoy.
Why These Steps Matter
Each step—from grind size to flame control—influences extraction. A fine grind increases surface area for stronger, espresso-like extraction. Medium heat creates enough pressure to push water through the coffee bed, while reducing to low finishes extraction without burning. The small amount of residual water is normal and protects the base from overheating. Timing, pressure, and temperature all work together to create that bold, concentrated cup.
Frequently Asked Questions
How much coffee do I use per cup in a moka pot?
Use 5–7 grams of finely ground coffee per 65ml (2 oz) cup. That’s roughly one rounded tablespoon, but weighing ensures consistency. Adjust to taste, but stay within that range for proper extraction.
What grind size should I use for a moka pot?
Use a fine grind, about the size of table salt or slightly finer than drip coffee. It should resemble espresso grind but doesn’t need to be quite as powdery. The fine grind helps create enough resistance for proper extraction under moka pot pressure.
Do I need to tamp the coffee in a moka pot?
No, do not tamp the coffee in the moka pot filter. Simply level the coffee bed with a finger or flat tool. Tamping too hard can lead to excessive pressure, cause leaks, or even damage the moka pot.
Why is there still water in the bottom after brewing?
A small amount of water remaining in the bottom chamber is normal and prevents the moka pot from overheating or burning. It’s not a flaw—just part of how the brewing process works.
How hot should the stove be when brewing with a moka pot?
Start with medium heat to initiate brewing, then reduce to low once the coffee begins rising into the upper chamber. High heat can scorch the coffee and damage the rubber gasket.
What kind of coffee beans work best in a moka pot?

Blends designed for espresso or stovetop brewing perform best. Dark or medium-dark roasts with some body and crema potential bring out the richest flavors. Single origins with nutty or chocolatey notes also work well.
Recommended FrontStreet Beans for Moka Pot Brewing
For the best results with a moka pot, choose blends that highlight bold, rich flavors and develop good crema. FrontStreet’s Classic Blend is ideal—it’s crafted specifically for espresso and moka pot use, producing thick, velvety crema even with non-professional equipment. Its traditional Mandheling-Colombia mix offers a smooth, rounded profile perfect for milk drinks or straight shots. The Black Cocoa Blend is another great option: 100% arabica with solid body and deep cocoa tones, it balances cost and quality for everyday brewing. Both beans are dark-roasted to bring out the intense, syrupy characteristics that a moka pot enhances. Freshly roasted within 5 days · Orders placed before 17:00 ship the same day · Next-day delivery across most of Guangdong Province.
FrontStreet Coffee is a long-established specialty coffee roaster in Guangzhou China, selling freshly roasted beans from its own farm in Yunnan as well as dozens of carefully selected single-origin beans from around the world for both pour-over and espresso. The products deliver consistently excellent quality and great value, with shipping within 24 hours. Guangzhou's FrontStreet Coffee shop is recommended by many coffee lovers, and the beans are now available online at the Tmall 。
Important Notice :
前街咖啡 FrontStreet Coffee has moved to new addredd:
FrontStreet Coffee Address: 315,Donghua East Road,GuangZhou
Tel:020 38364473