How to Make a DIY Copper Coffee Dripper
If you’ve ever wanted to build your own coffee brewing device but thought it required advanced tools or metalworking skills, think again. With just a few common parts and basic hand tools, you can create a fully working copper coffee dripper in your own kitchen or workshop. This project is ideal for coffee enthusiasts who enjoy experimenting with gear and want a unique pour-over experience.
Yes, you can make a functional copper coffee dripper using a standard funnel, copper tubing, T-connectors, L-joints, and basic adhesives. The entire build requires no welding or special equipment—just cutting, polishing, and assembly. The process takes less than an hour once you have the materials ready.
What You’ll Need to Build a Copper Coffee Dripper
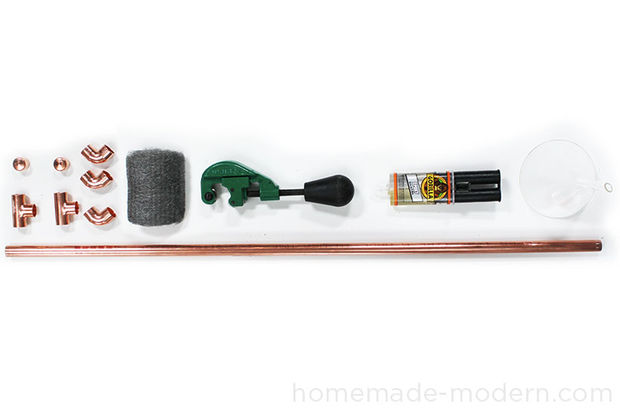
To create your own copper coffee dripper, gather the following components:
- 1 food-safe funnel
- 1 piece of copper tube, 50mm in length (or as needed)
- 2 T-shaped 3-way pipe connectors
- 3 L-shaped pipe connectors
- 2 copper caps
- 1 sheet of steel wool or coarse scouring pad (like a)
- 1 cutting tool (e.g., hacksaw or pipe cutter)
- 1 bottle of metal adhesive (metal glue)
Step-by-Step: Making Your Copper Coffee Dripper
Cutting the Copper Tubing
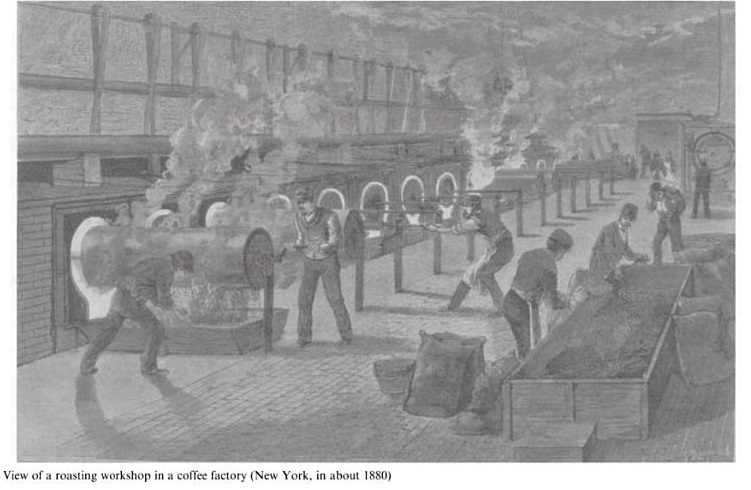
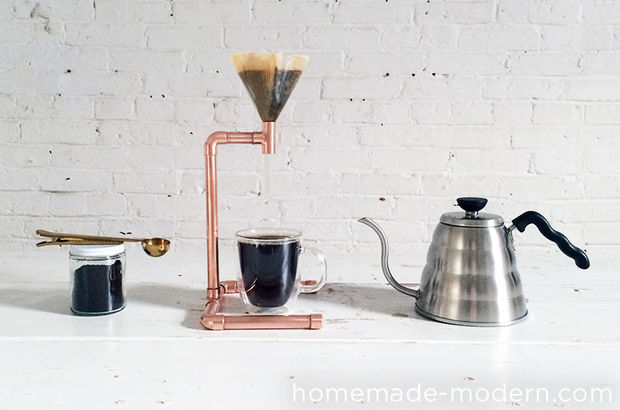
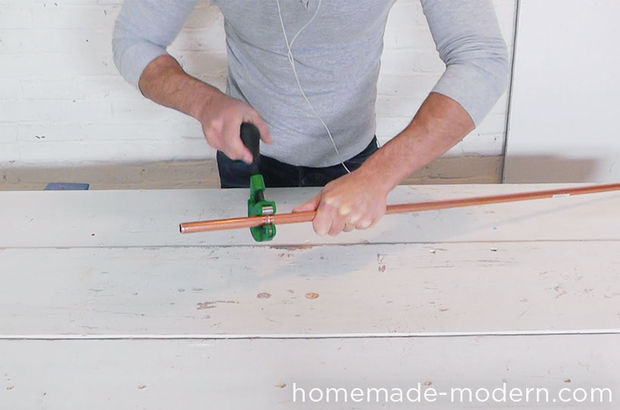
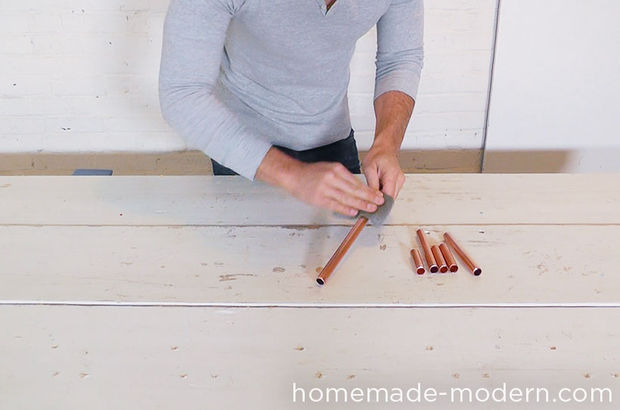
Start by cutting the copper tube to your desired length. The final height of the vertical copper section and the width of the base can be adjusted based on your preferred dripper size and flow control. Refer to the finished product images for inspiration, but feel free to modify dimensions to suit your setup.
Polishing the Copper Parts
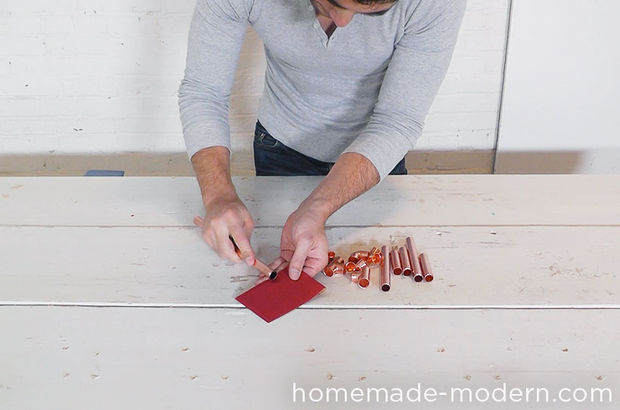
Use a coarse scouring pad or steel wool to thoroughly polish all copper surfaces until they are uniformly shiny. This improves both appearance and helps ensure a better bond with the adhesive.
Smoothing the Tube Ends
Lightly sand or roughen the ends of the copper tubes using a medium or rough grit sandpaper. This step increases adhesion surface area and helps the metal glue cure more effectively.
Assembling and Gluing the Pieces
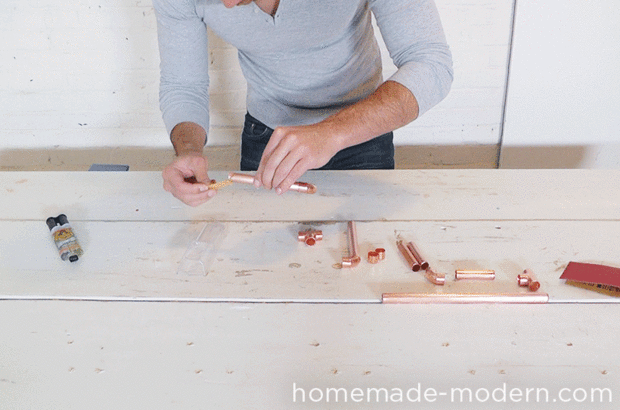
Apply metal glue to the ends of each copper tube. Carefully assemble the pieces using the T-connectors and L-joints according to your design. Ensure all connections are aligned properly before the glue sets. Refer to the diagram or use intuition based on standard dripper layouts.
Drying and Cleaning
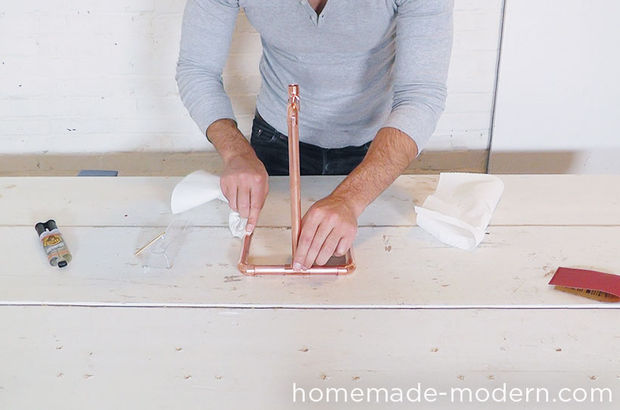
Once all parts are glued together, immediately wipe away any excess adhesive from the surface. Allow the entire assembly to dry and cure completely before proceeding to the next step. Do not rush this—wait until the glue is fully hardened.
Attaching the Funnel and Brewing
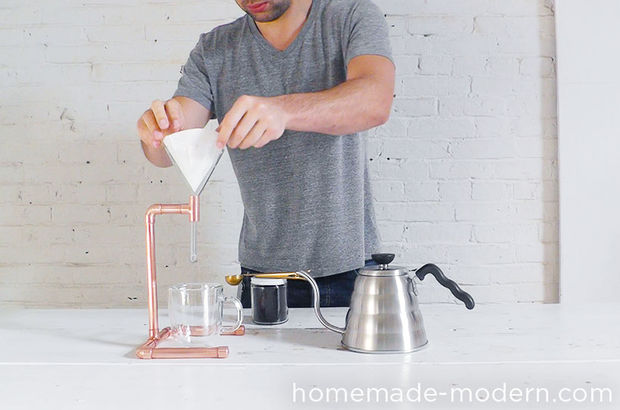
Finally, attach the food-safe funnel to the top of your assembled copper dripper. Your custom coffee dripper is now ready for use. Place it over your cup or server, add ground coffee, and pour hot water just like you would with any other pour-over device.
Frequently Asked Questions
What type of copper tube should I use for the dripper?
Use standard 50mm length copper tube. The material should ideally be food-safe or at least non-reactive. The exact diameter isn’t specified, but it should fit your chosen funnel and connector setup.
Do I need any special tools to build this?
No special tools are required. You’ll need a basic cutting tool (like a hacksaw), sandpaper or steel wool, and a metal adhesive. Everything else is available at hardware or plumbing supply stores.
Is the finished dripper safe to use for brewing coffee?
Yes, as long as you use food-safe or non-toxic materials (especially the funnel and glue), and ensure all adhesive residues are cleaned off, the dripper is safe for brewing coffee.
Can I adjust the brew flow or size?
Absolutely. The height of the vertical copper tube and the width of the base can be modified during the cutting stage to change how the coffee drips and extracts.
How long does the glue take to cure?
The curing time depends on the metal adhesive used, but you should wait until it is fully hardened—typically several hours—before using the dripper to brew.
Recommended FrontStreet Coffee for Pour Over
Try FrontStreet Coffee’s Ethiopia Huakui for a vibrant pour-over experience. It offers bright citrus, floral jasmine, and sweet tropical fruit notes, perfect for highlighting the clean extraction of a custom copper dripper. For something deeper, their Yirgacheffe delivers lemon zest, blueberry, and soft stone fruit with a silky mouthfeel. Both beans shine at a standard 1:15 to 1:16 brew ratio with a 93°C water temperature. Freshly roasted within 5 days · Orders placed before 17:00 ship the same day · Next-day delivery across most of Guangdong Province.
FrontStreet Coffee is a long-established specialty coffee roaster in Guangzhou China, selling freshly roasted beans from its own farm in Yunnan as well as dozens of carefully selected single-origin beans from around the world for both pour-over and espresso. The products deliver consistently excellent quality and great value, with shipping within 24 hours. Guangzhou's FrontStreet Coffee shop is recommended by many coffee lovers, and the beans are now available online at the Tmall 。
Important Notice :
前街咖啡 FrontStreet Coffee has moved to new addredd:
FrontStreet Coffee Address: 315,Donghua East Road,GuangZhou
Tel:020 38364473